Operating steps
Below you can see how quickly and easily the cassettes can be used. The instruments remain sterile until the container is opened.
Safe and reliable handling.
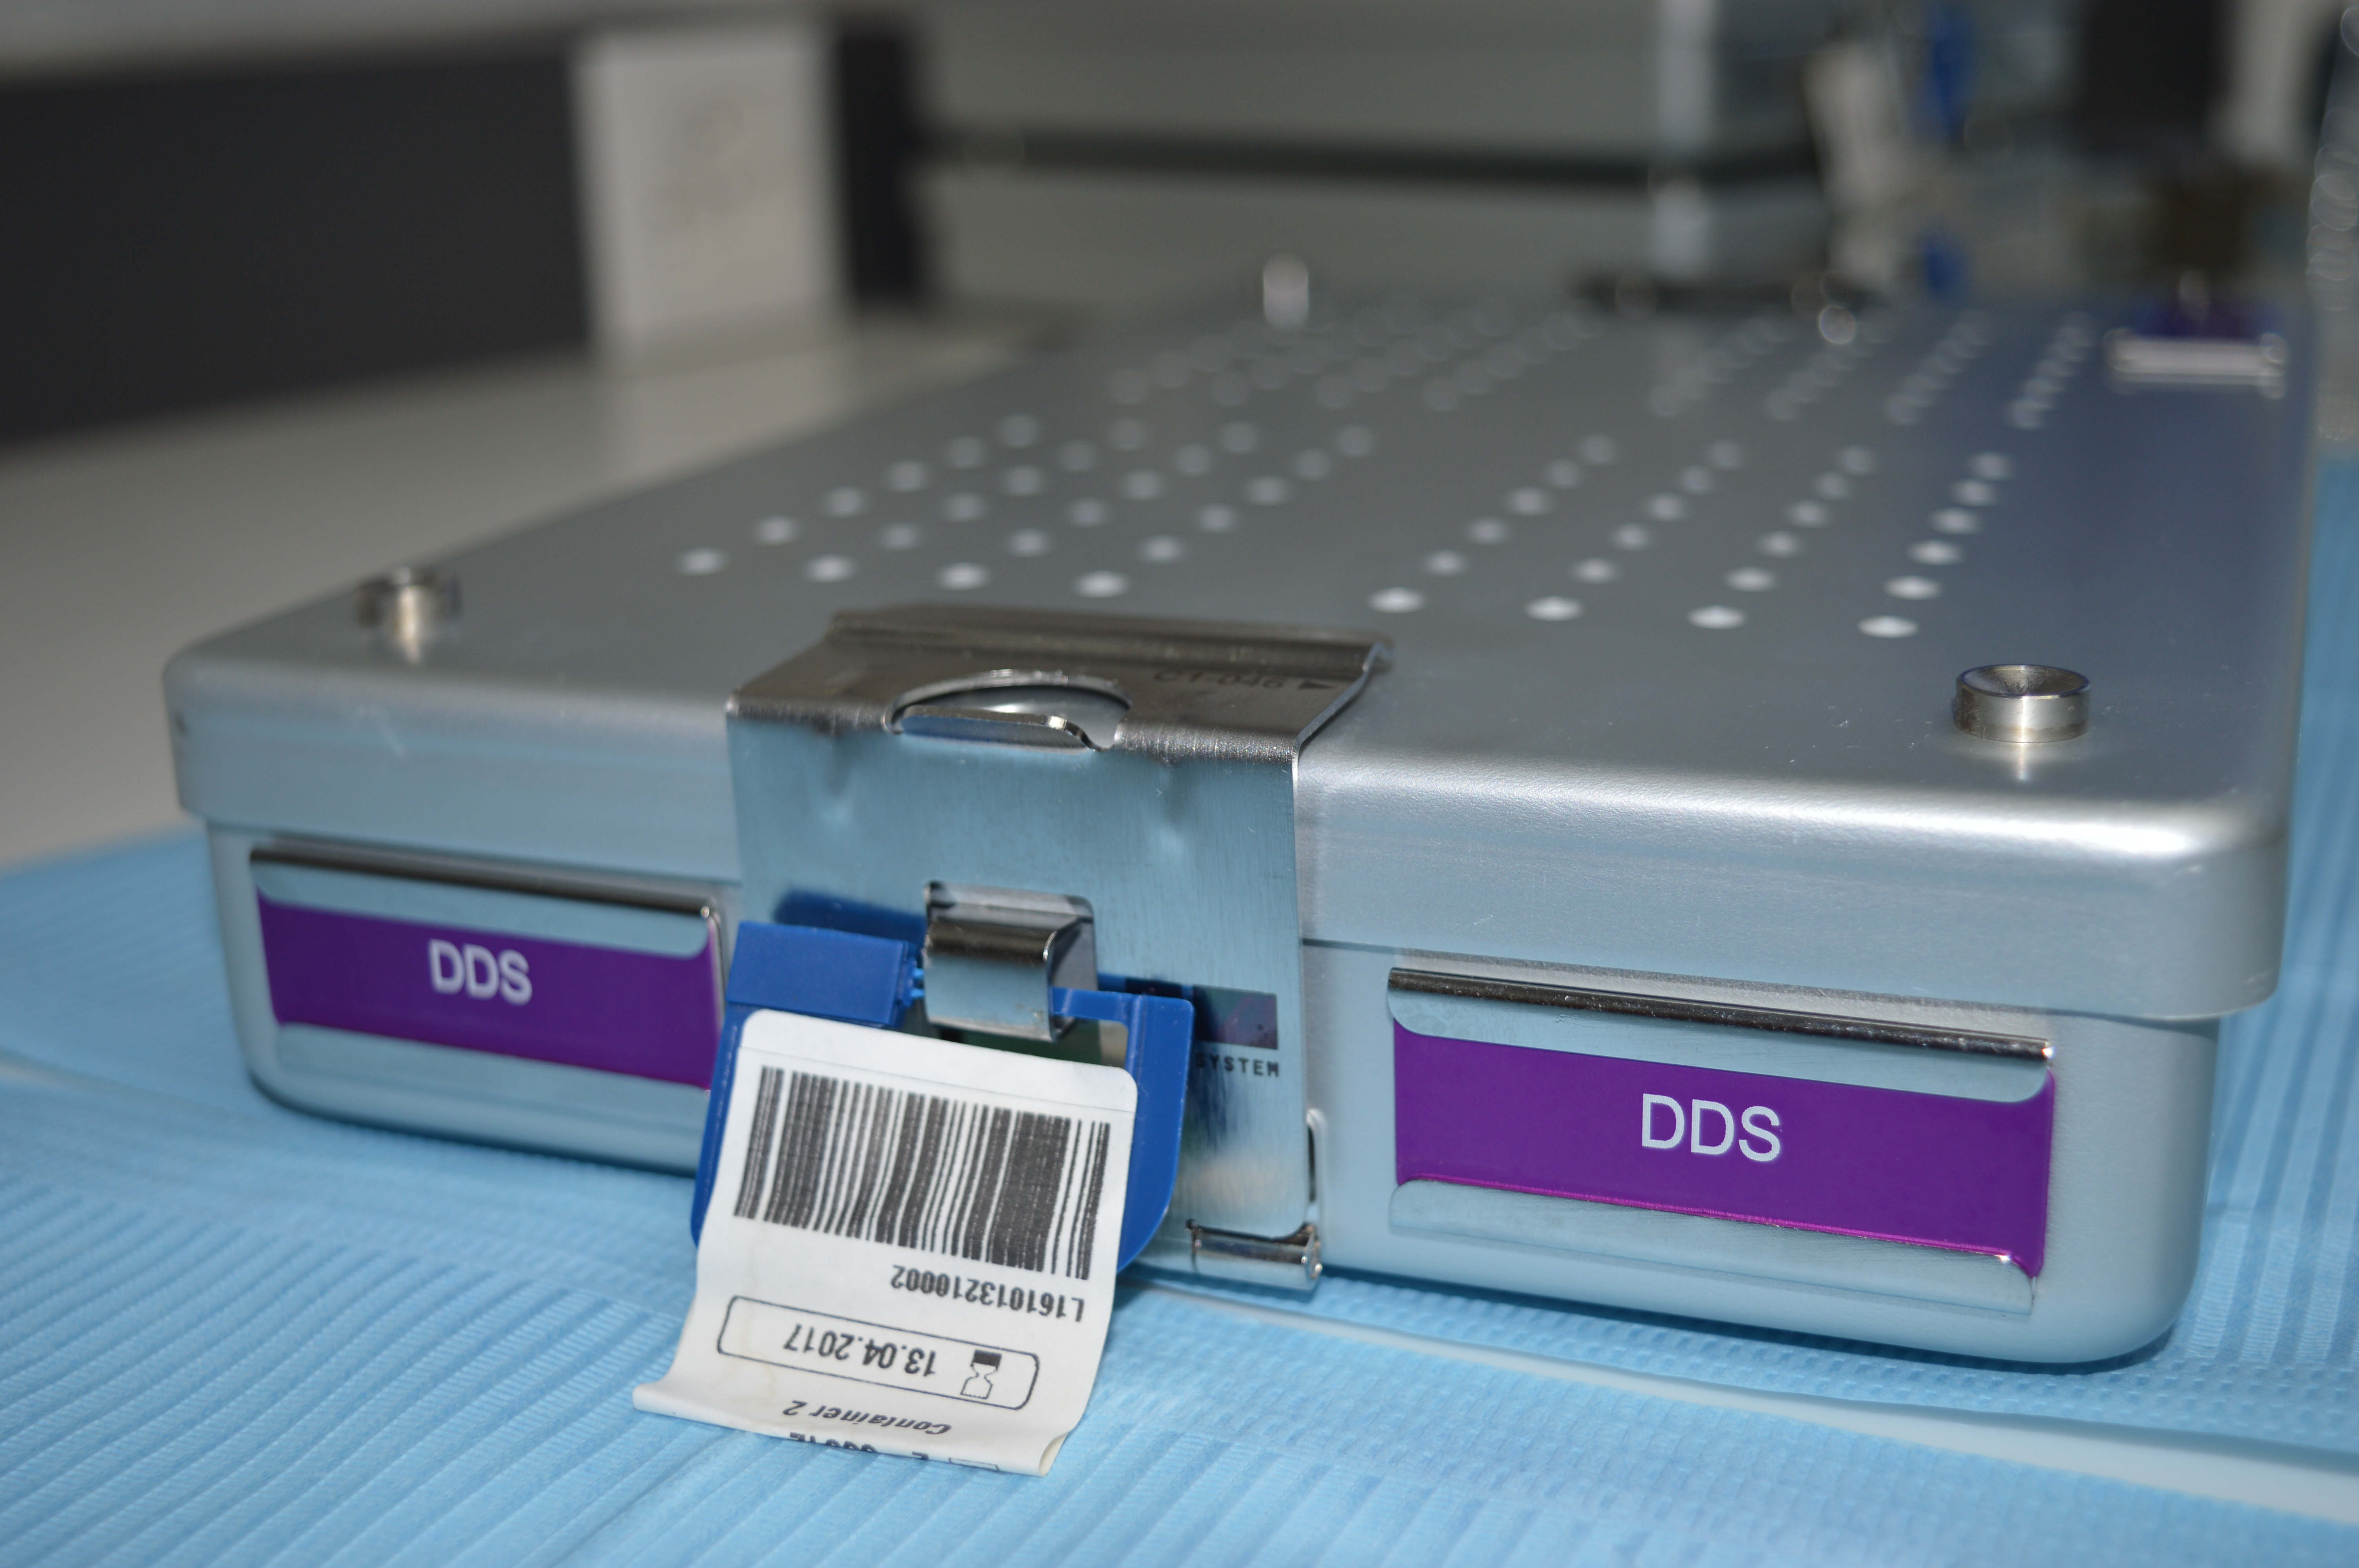
1: Take one of the containers you need for future treatment.

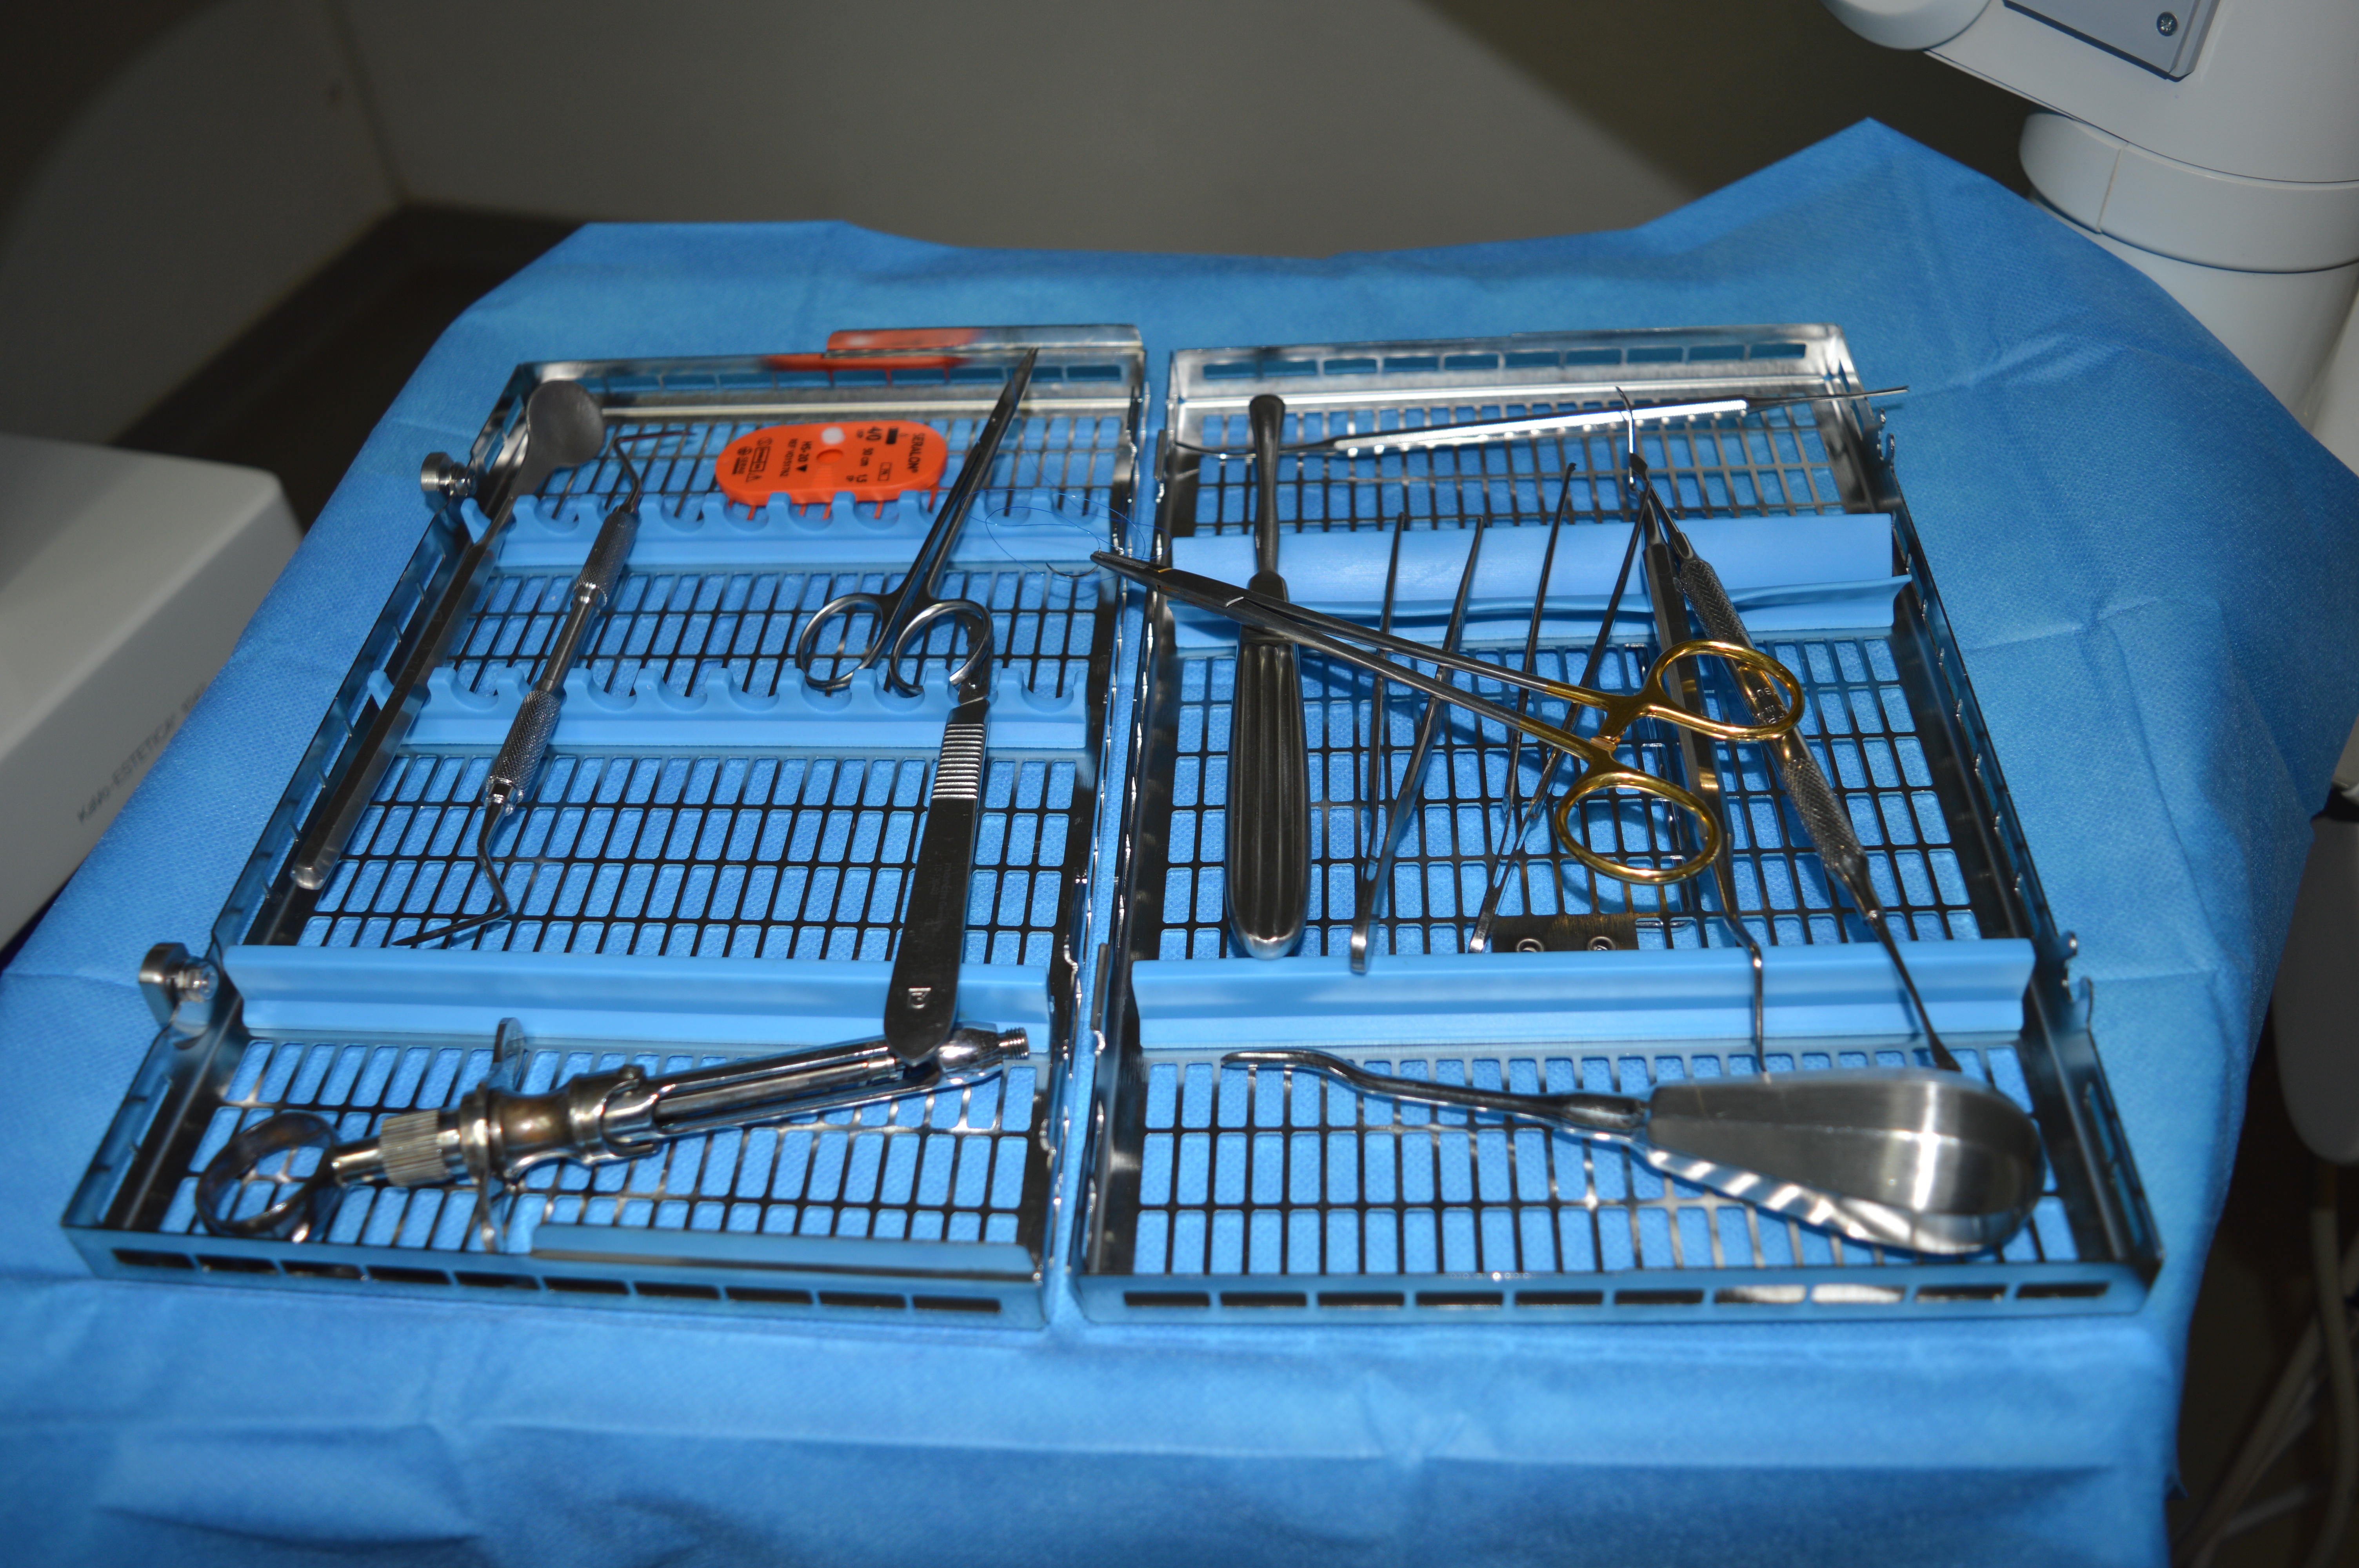
2: The instruments inside are already sterile at the opening.

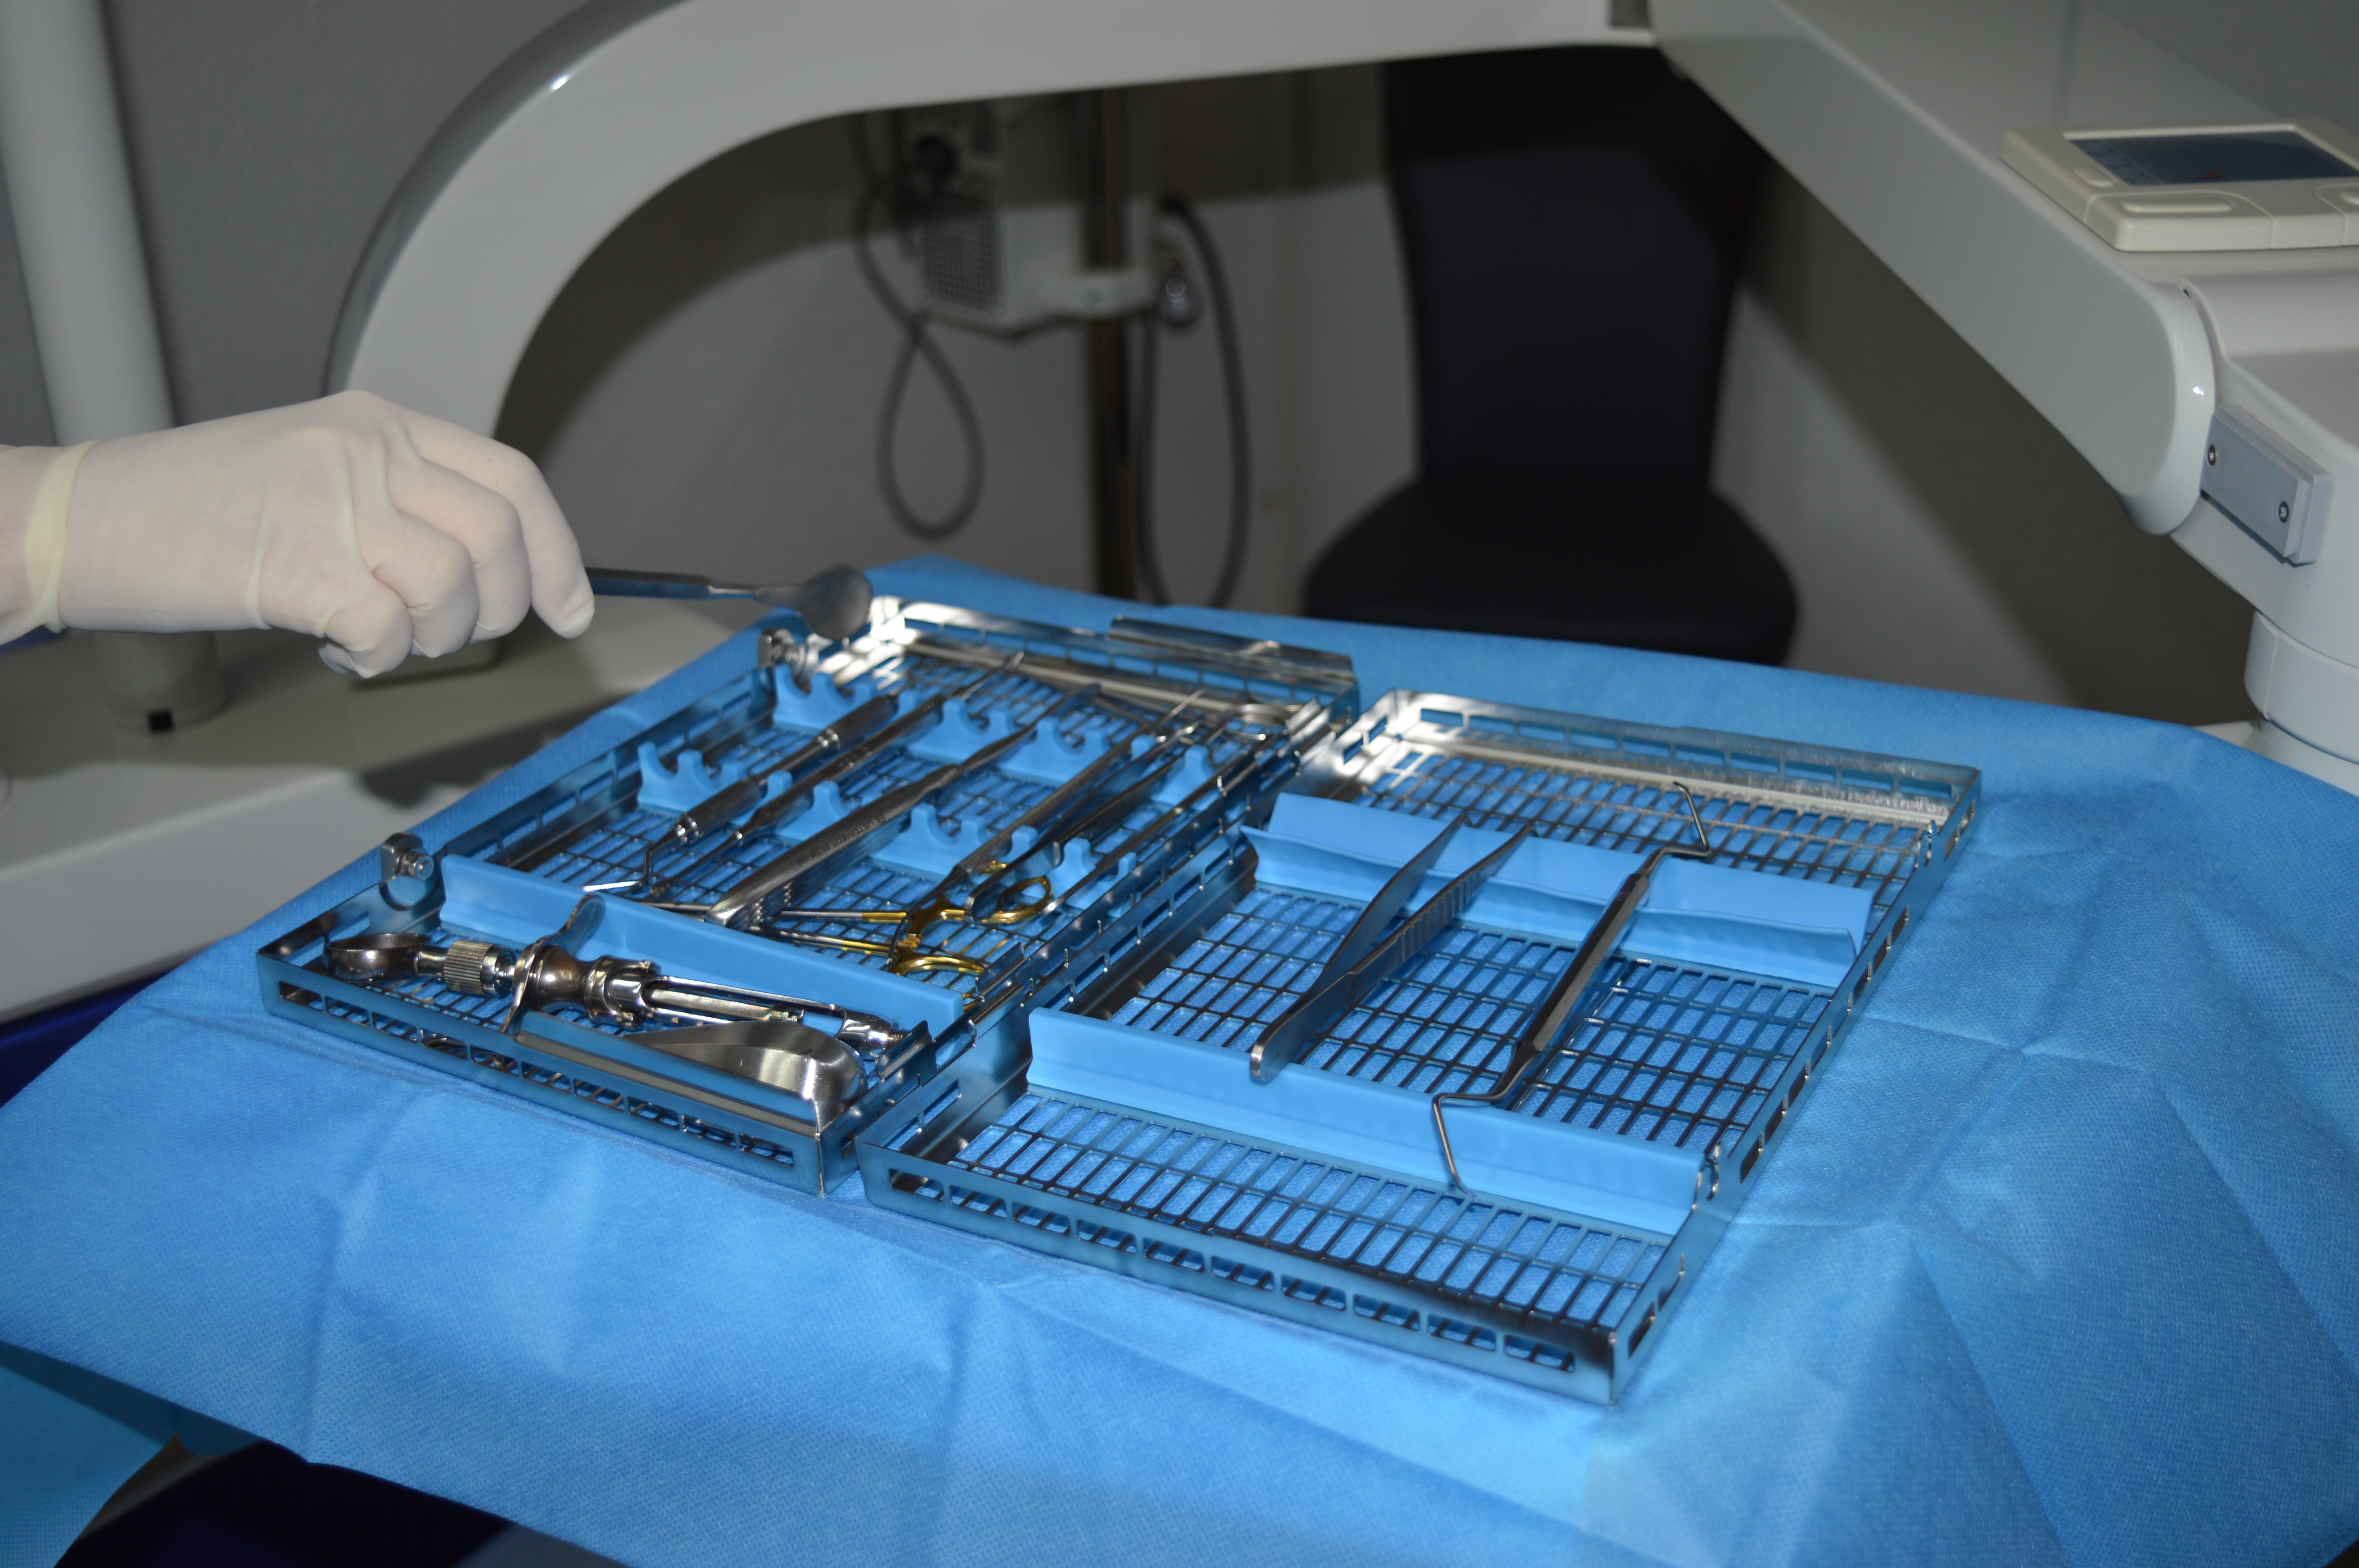
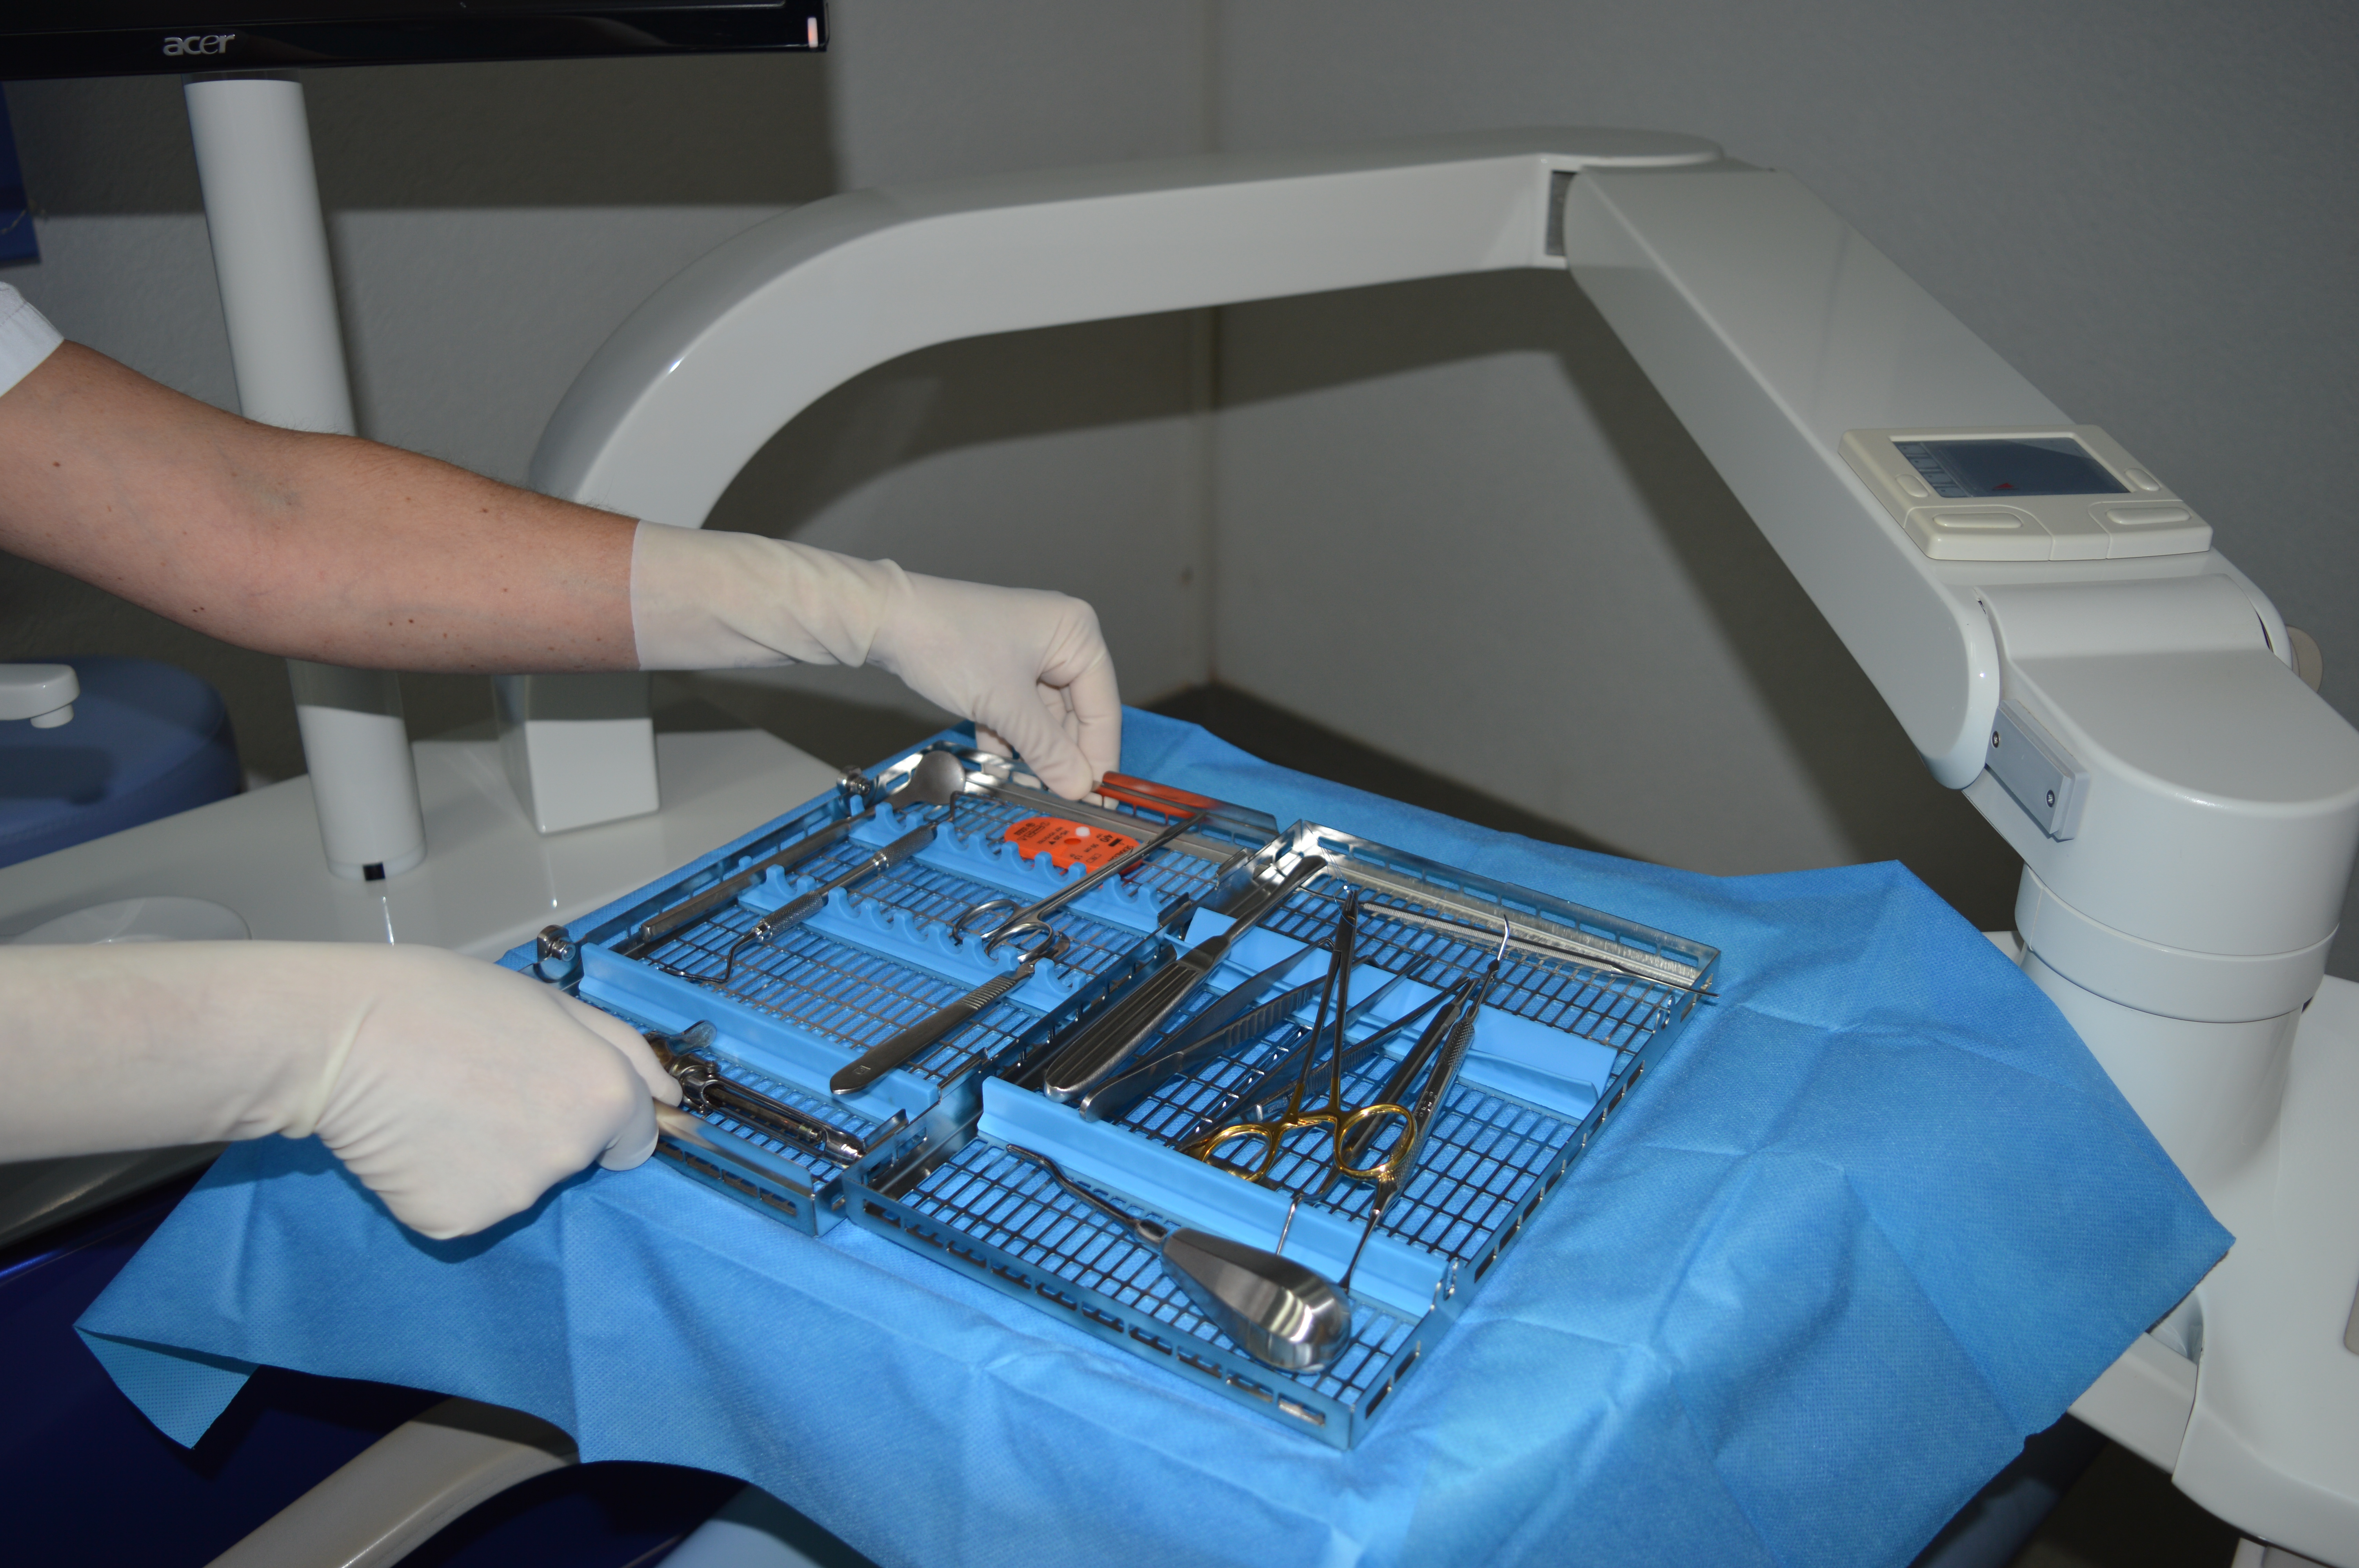
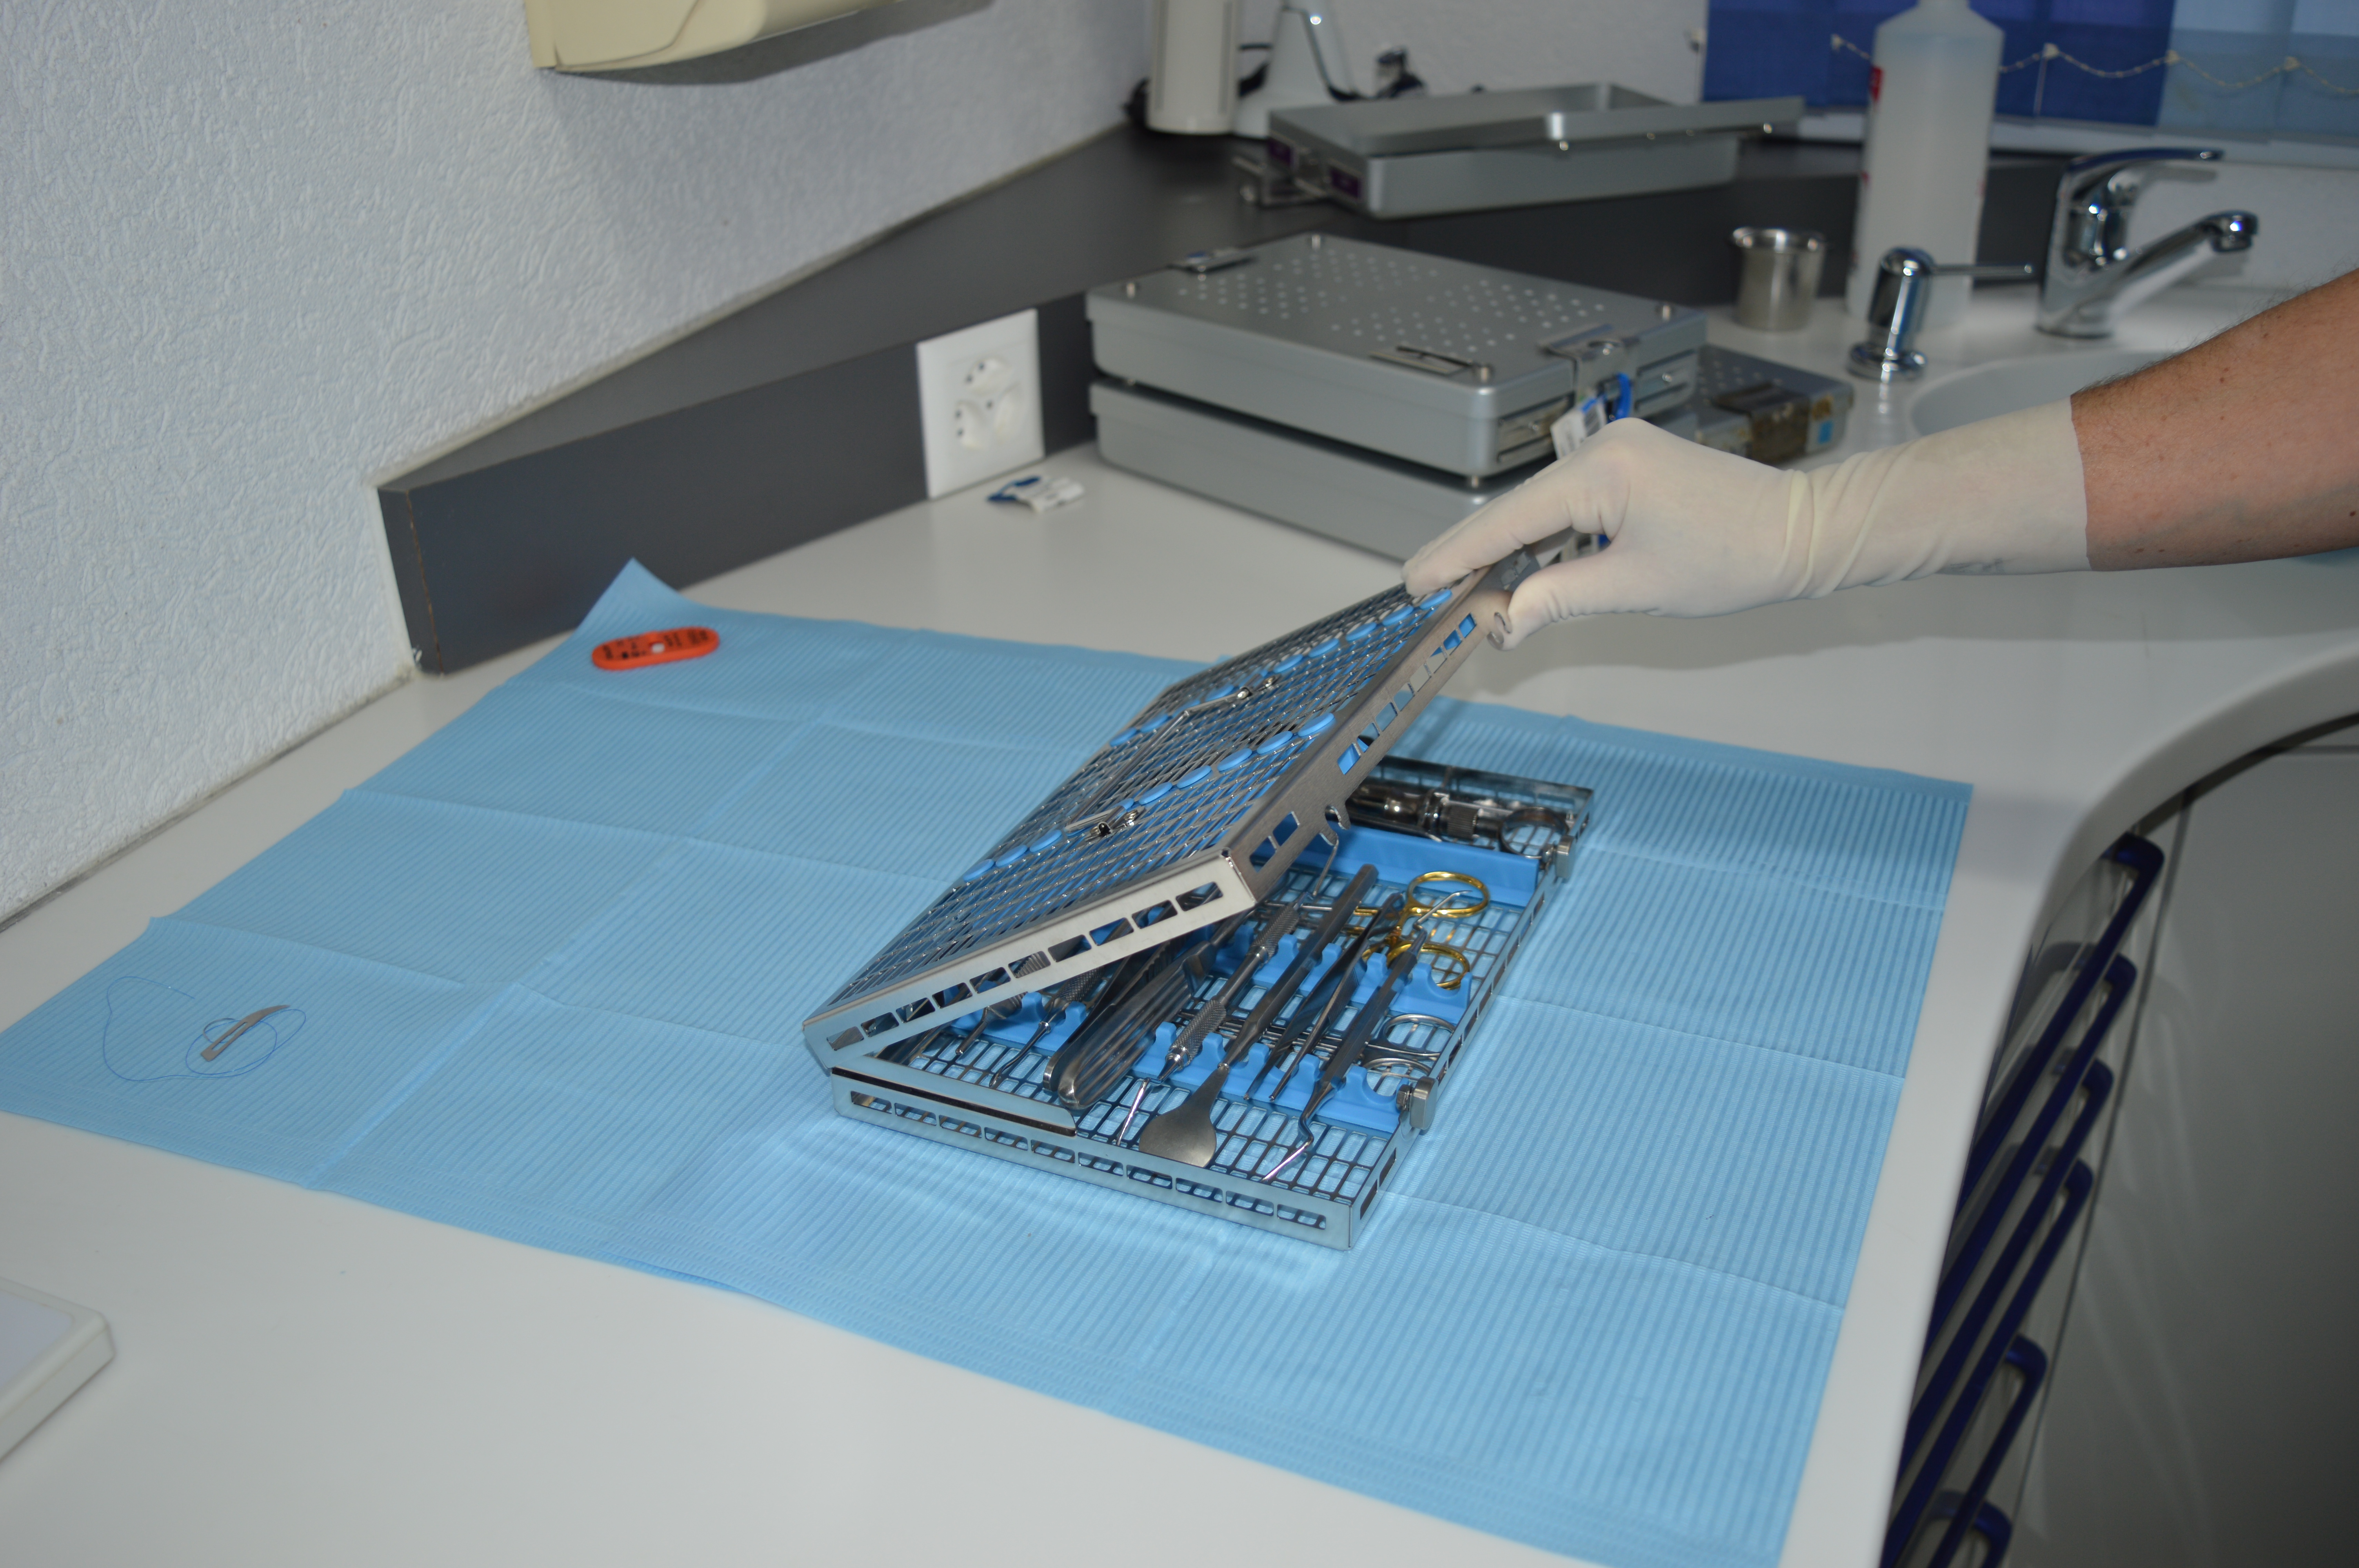
3: The cassette can be gripped by the specially fixed handle.

4: Place your instruments on the work surface and start treatment.
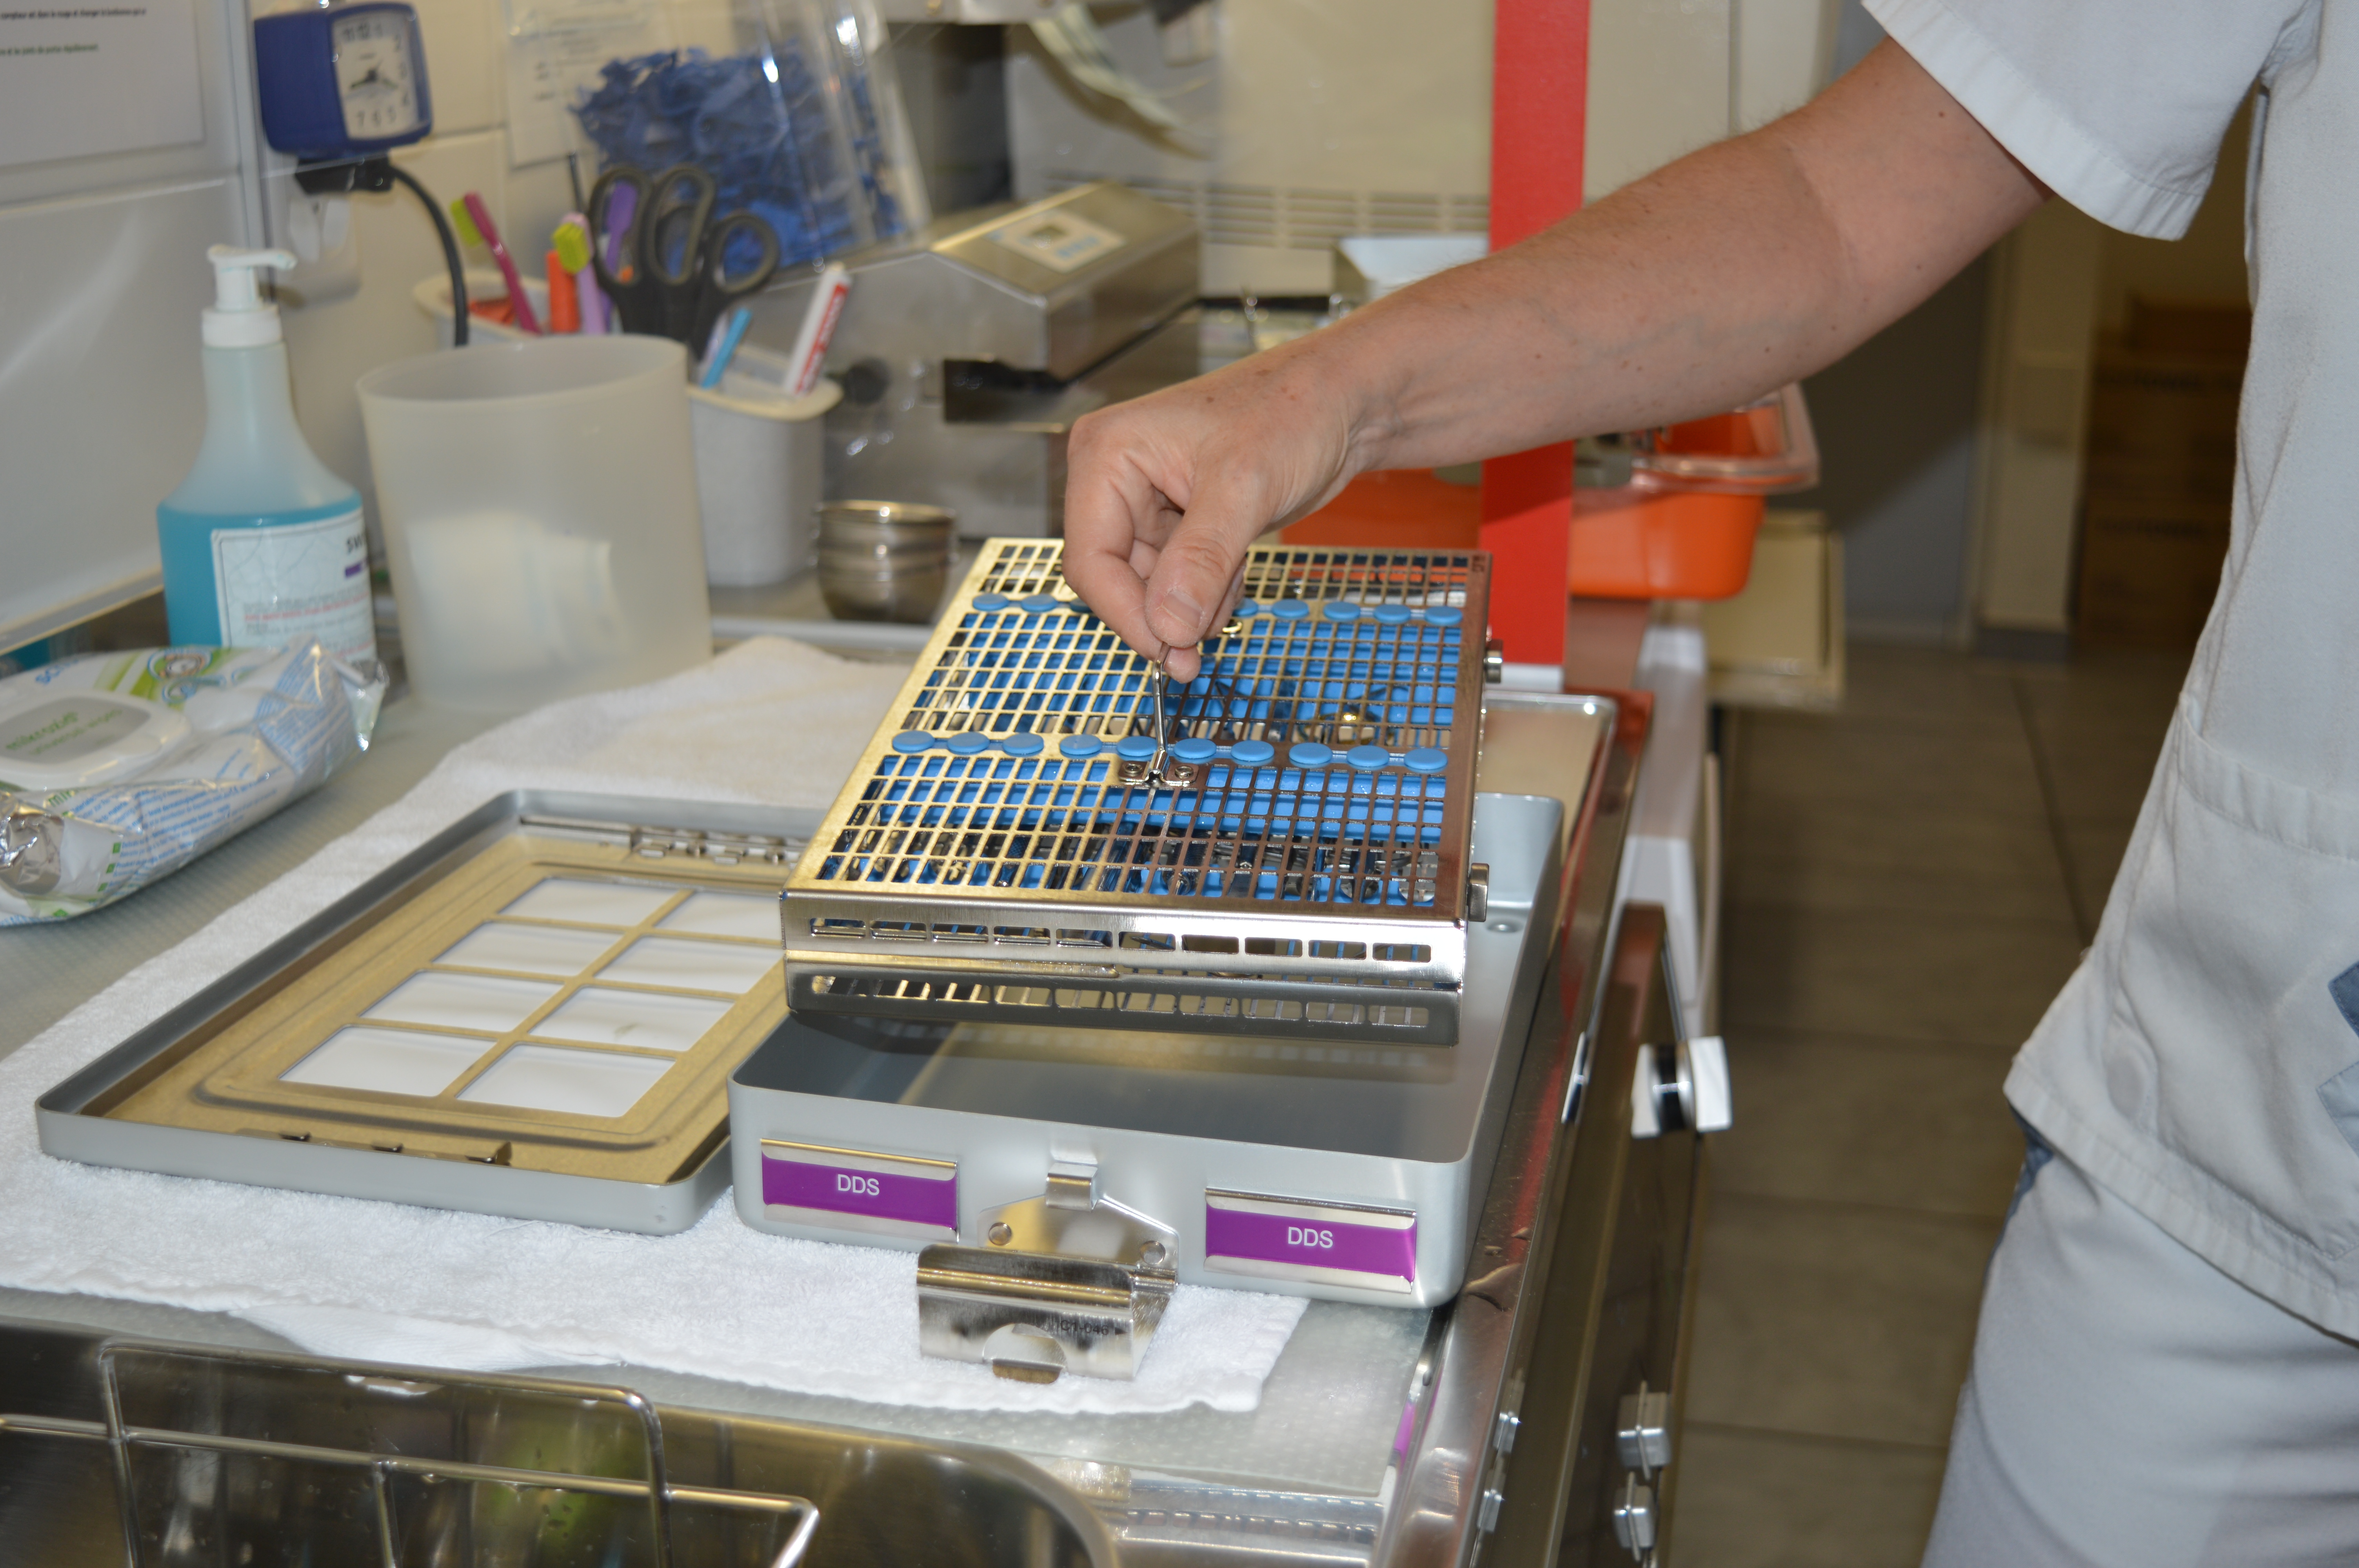
5: After the treatment, safely store your instruments in the cassette.
6: Store your instruments between the silicone covers provided for this purpose.
7: Your instruments are now stored in the container and can be transported safely.
8: Close the cassette and proceed to the sterilization steps (see below).
Cleaning and sterilization steps
The sterilization process is the same as the one you are used to, except that it is safer and easier with the containers. The procedures remain the same.

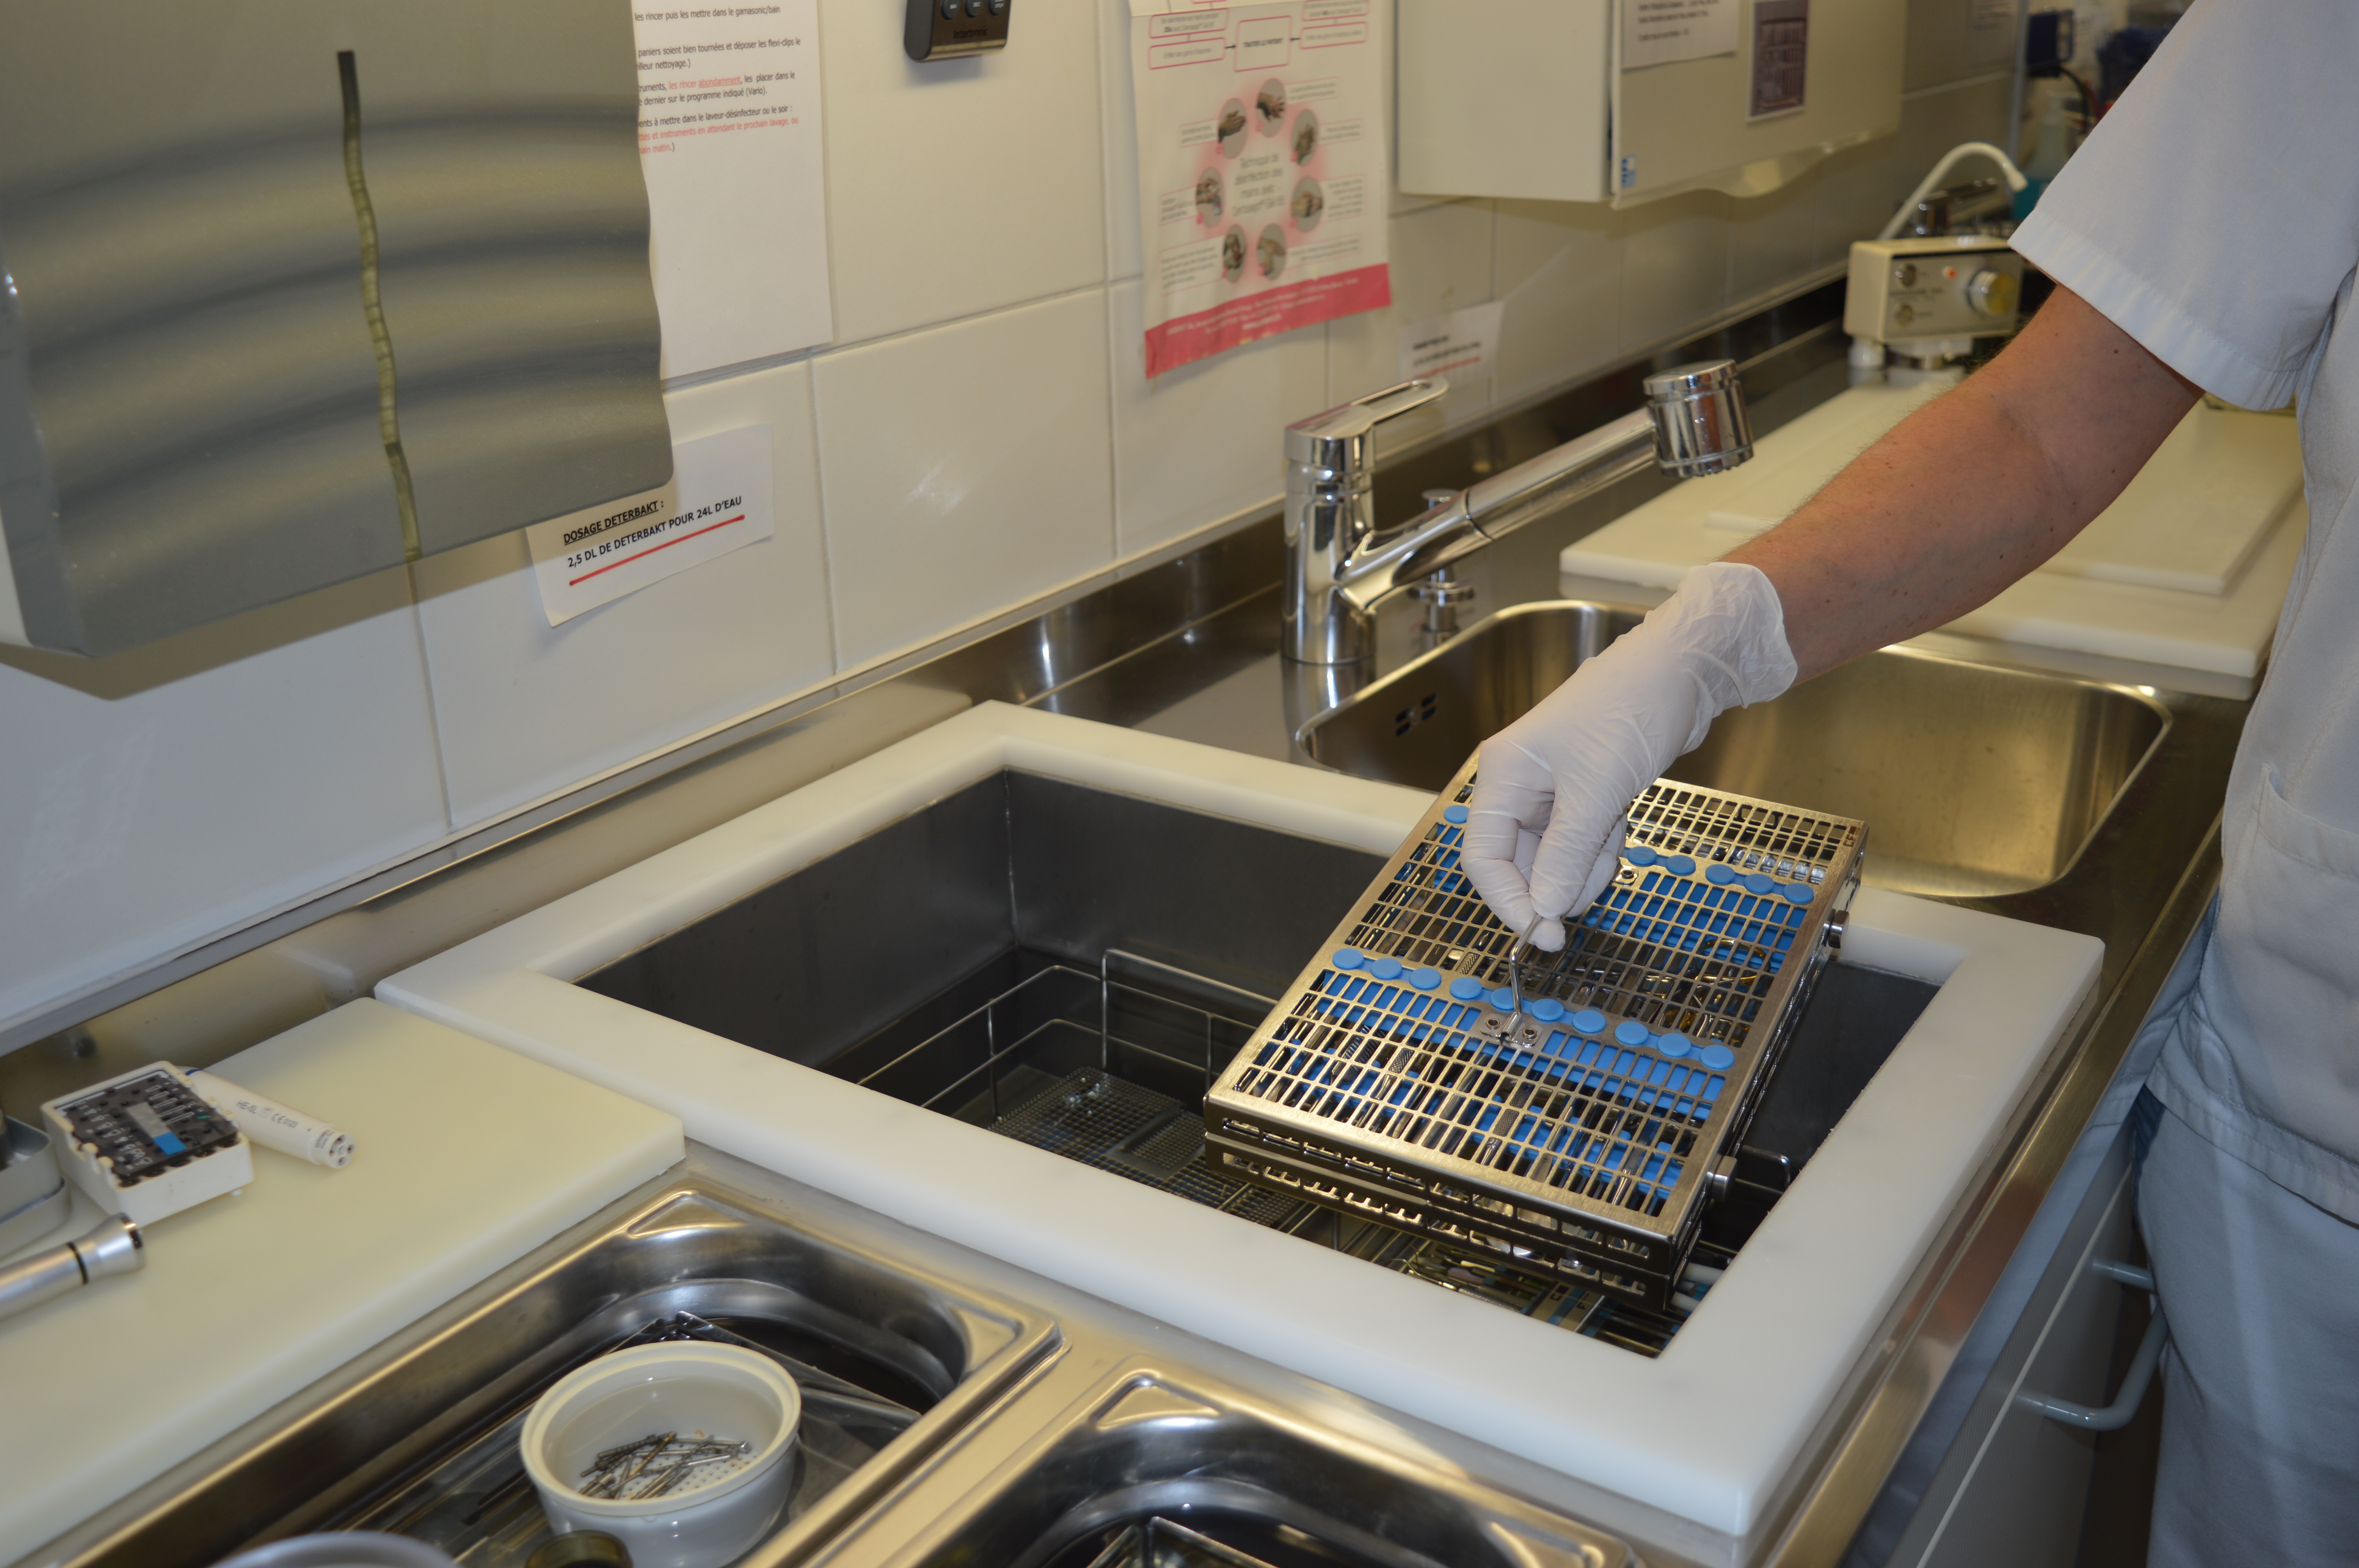
1: After use, the cassettes are placed in a transport container.
2: Start as usual with sterilization.
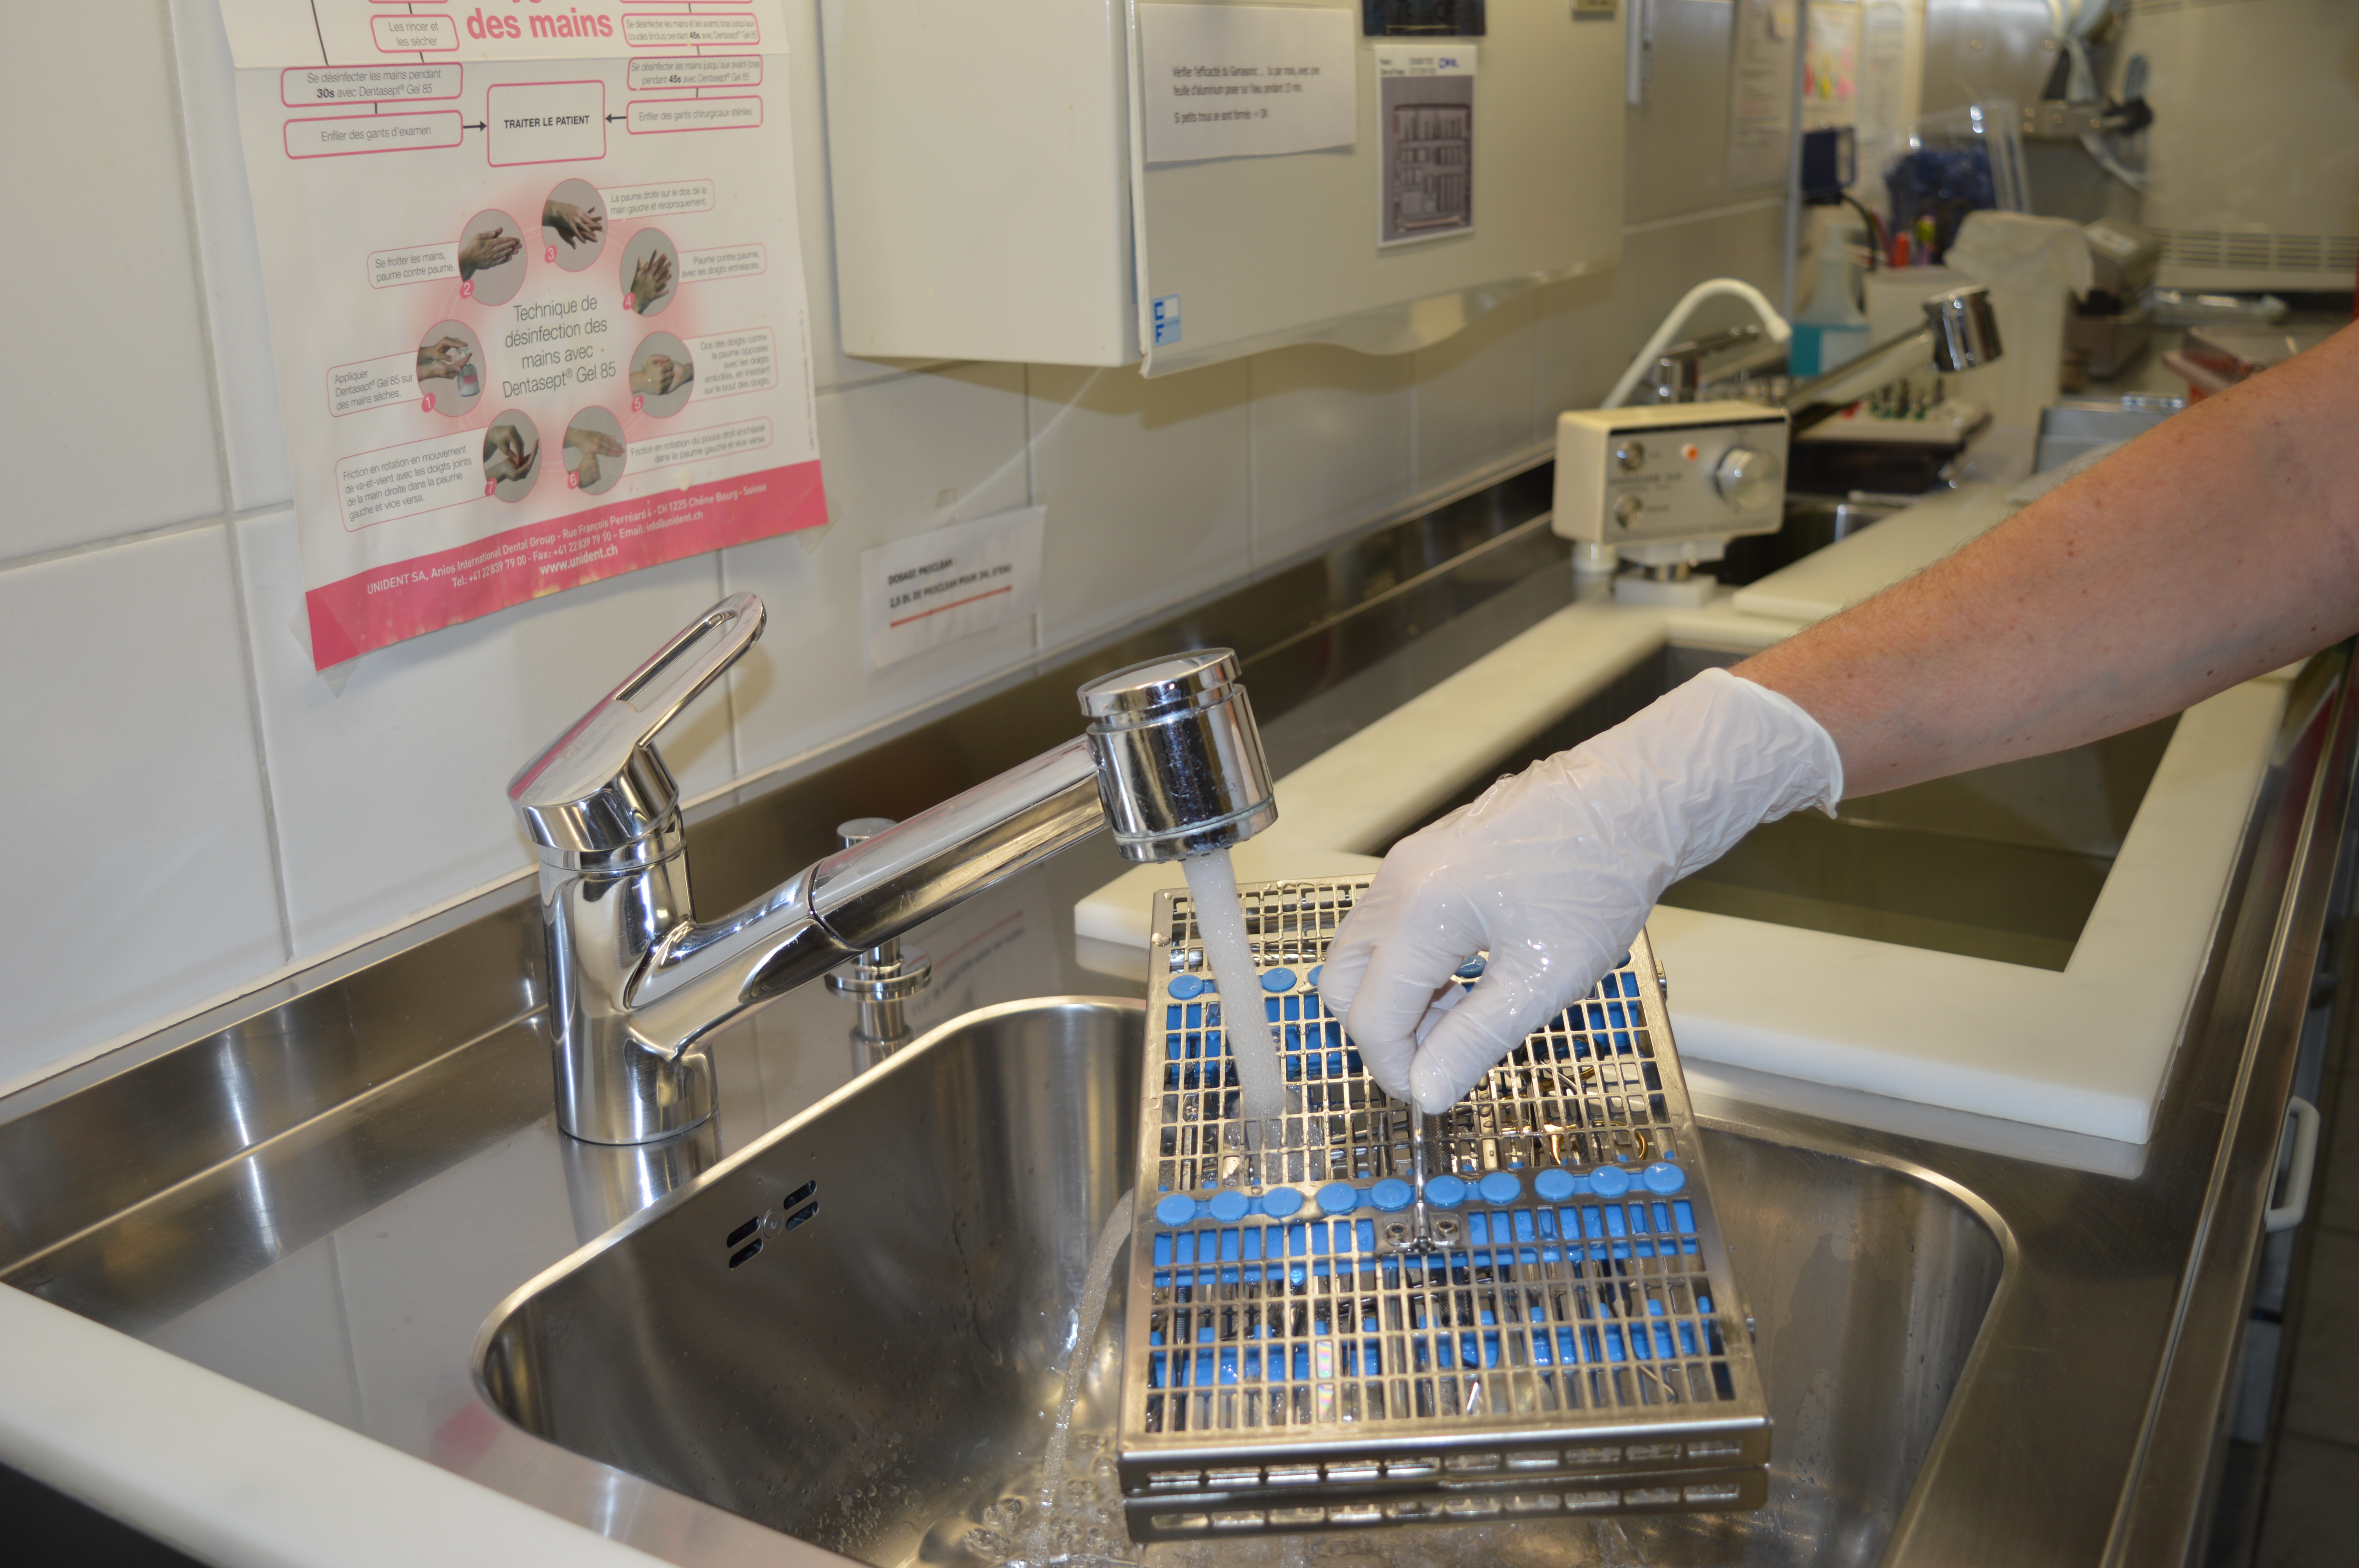
3: Rinse thoroughly under running water.
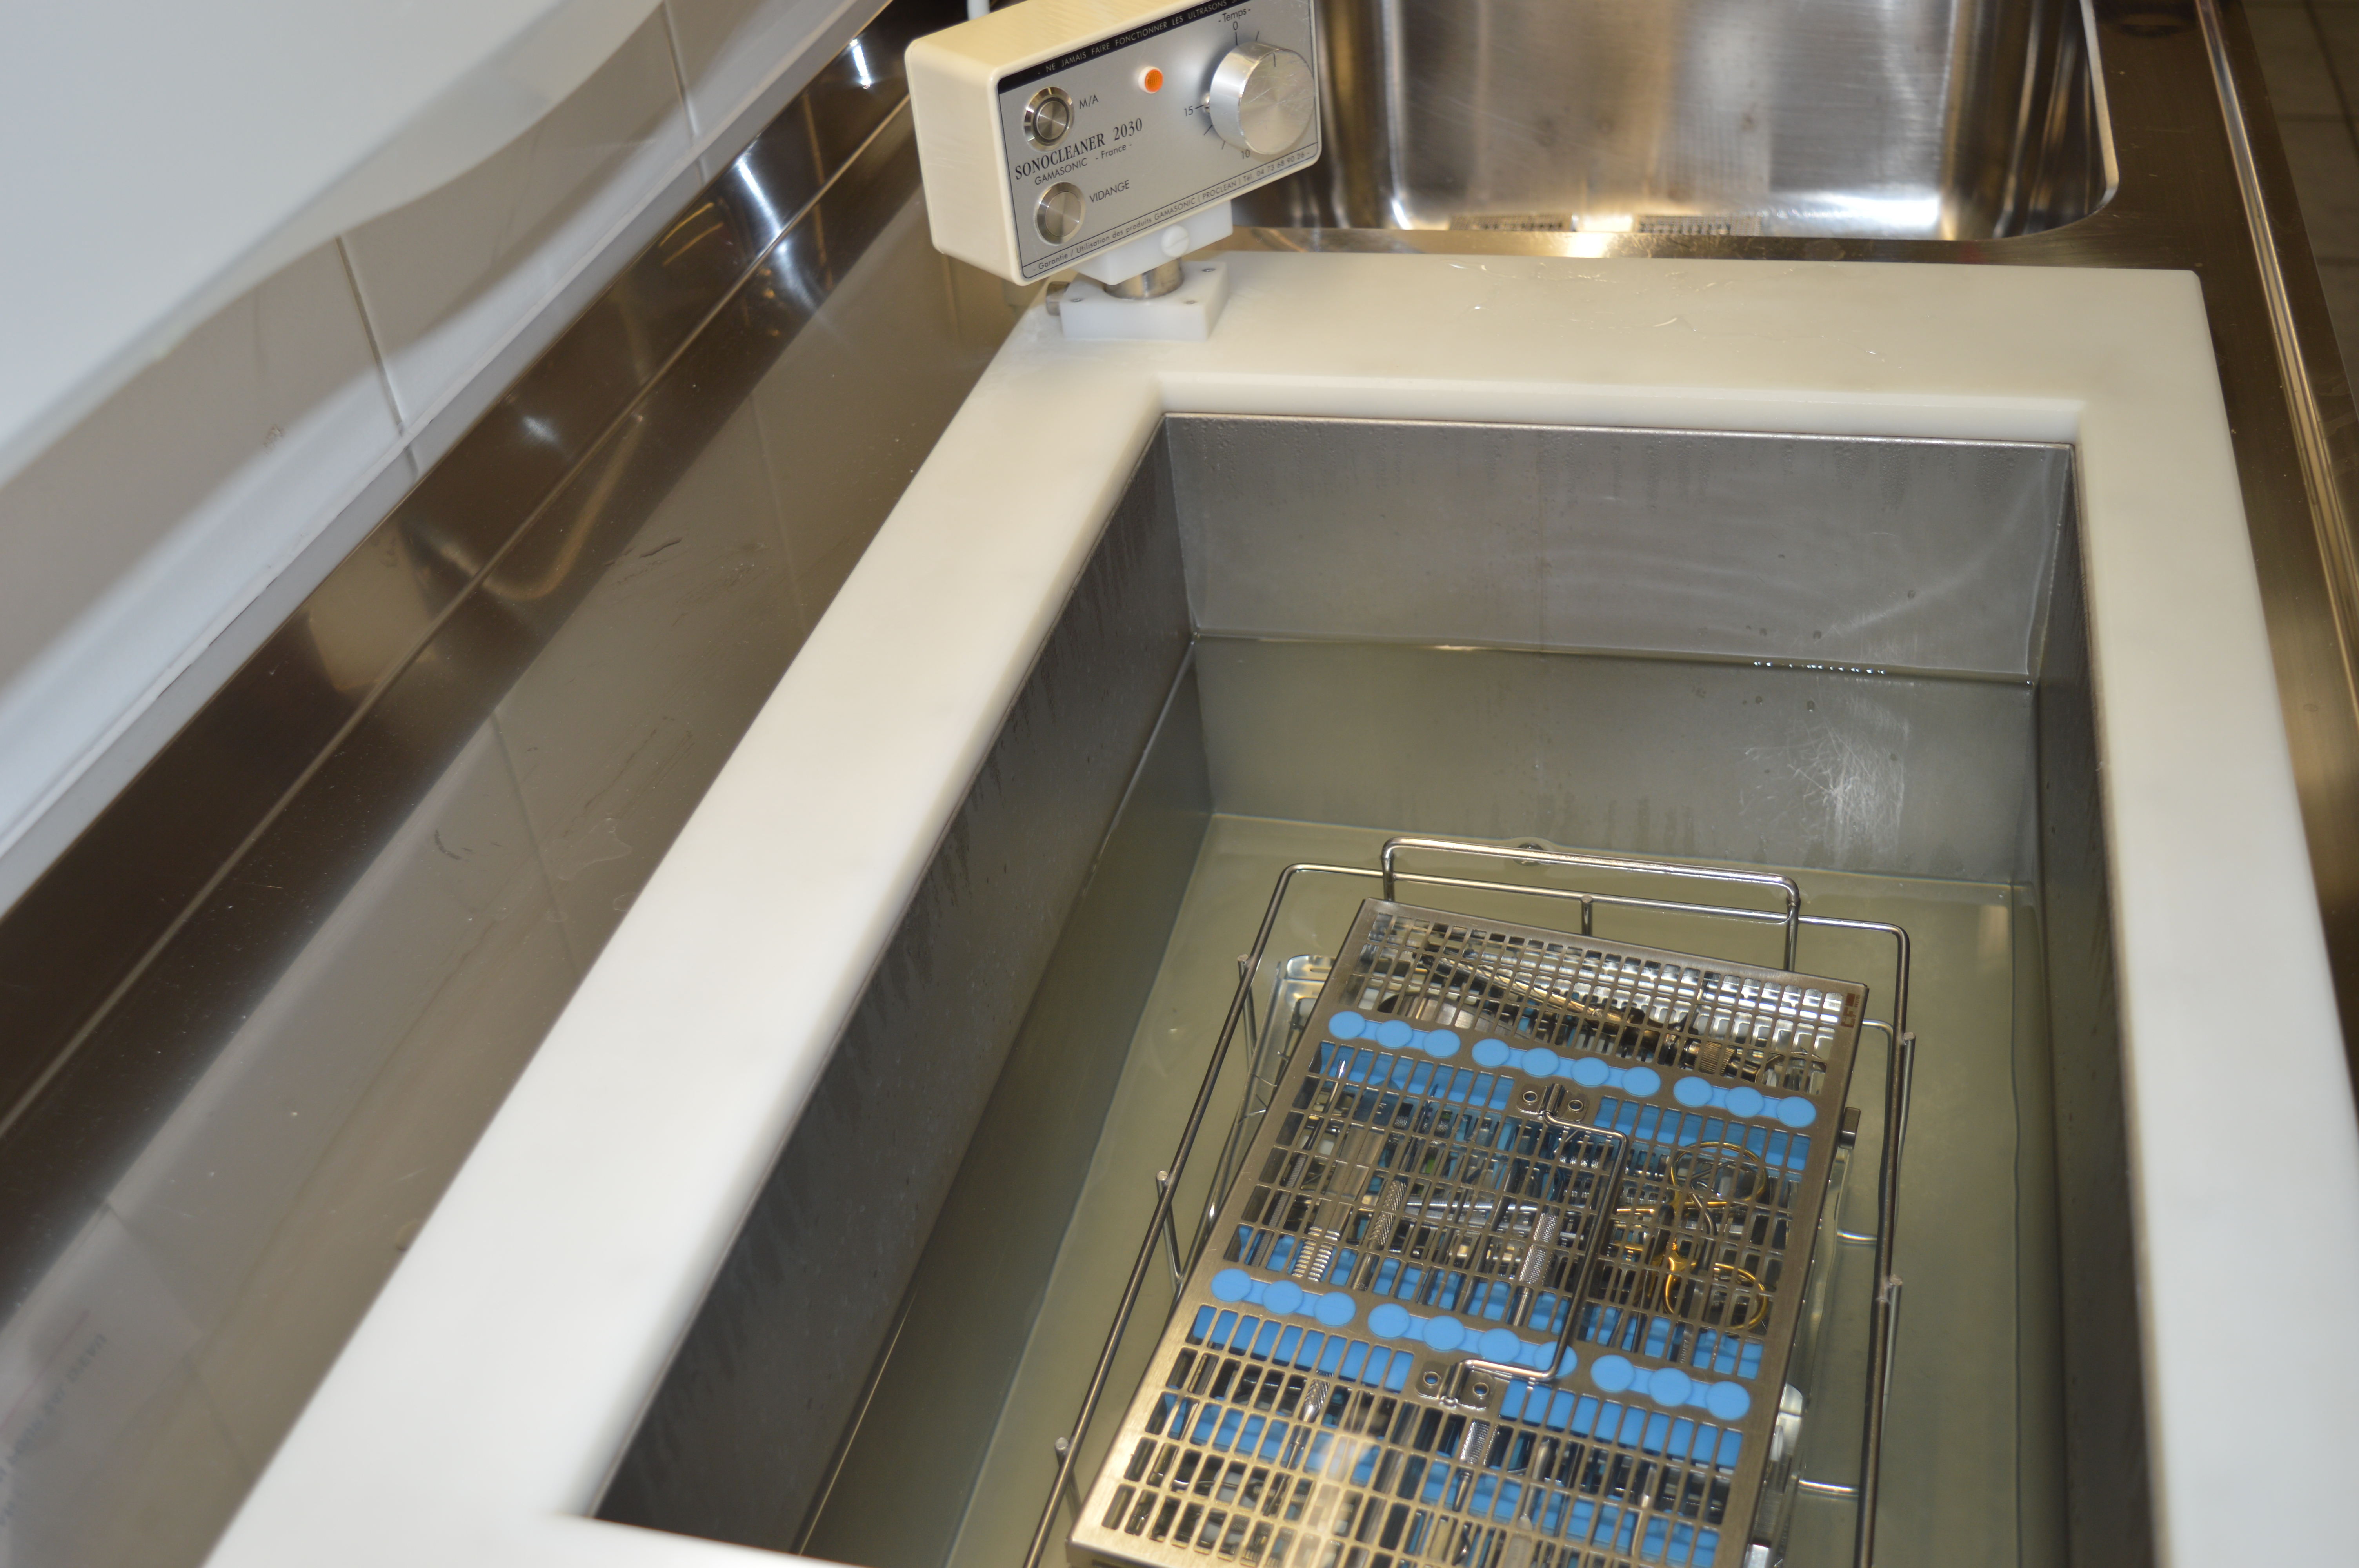
4: Continue in the ultrasound basin.


5: Next, rinse under running water.
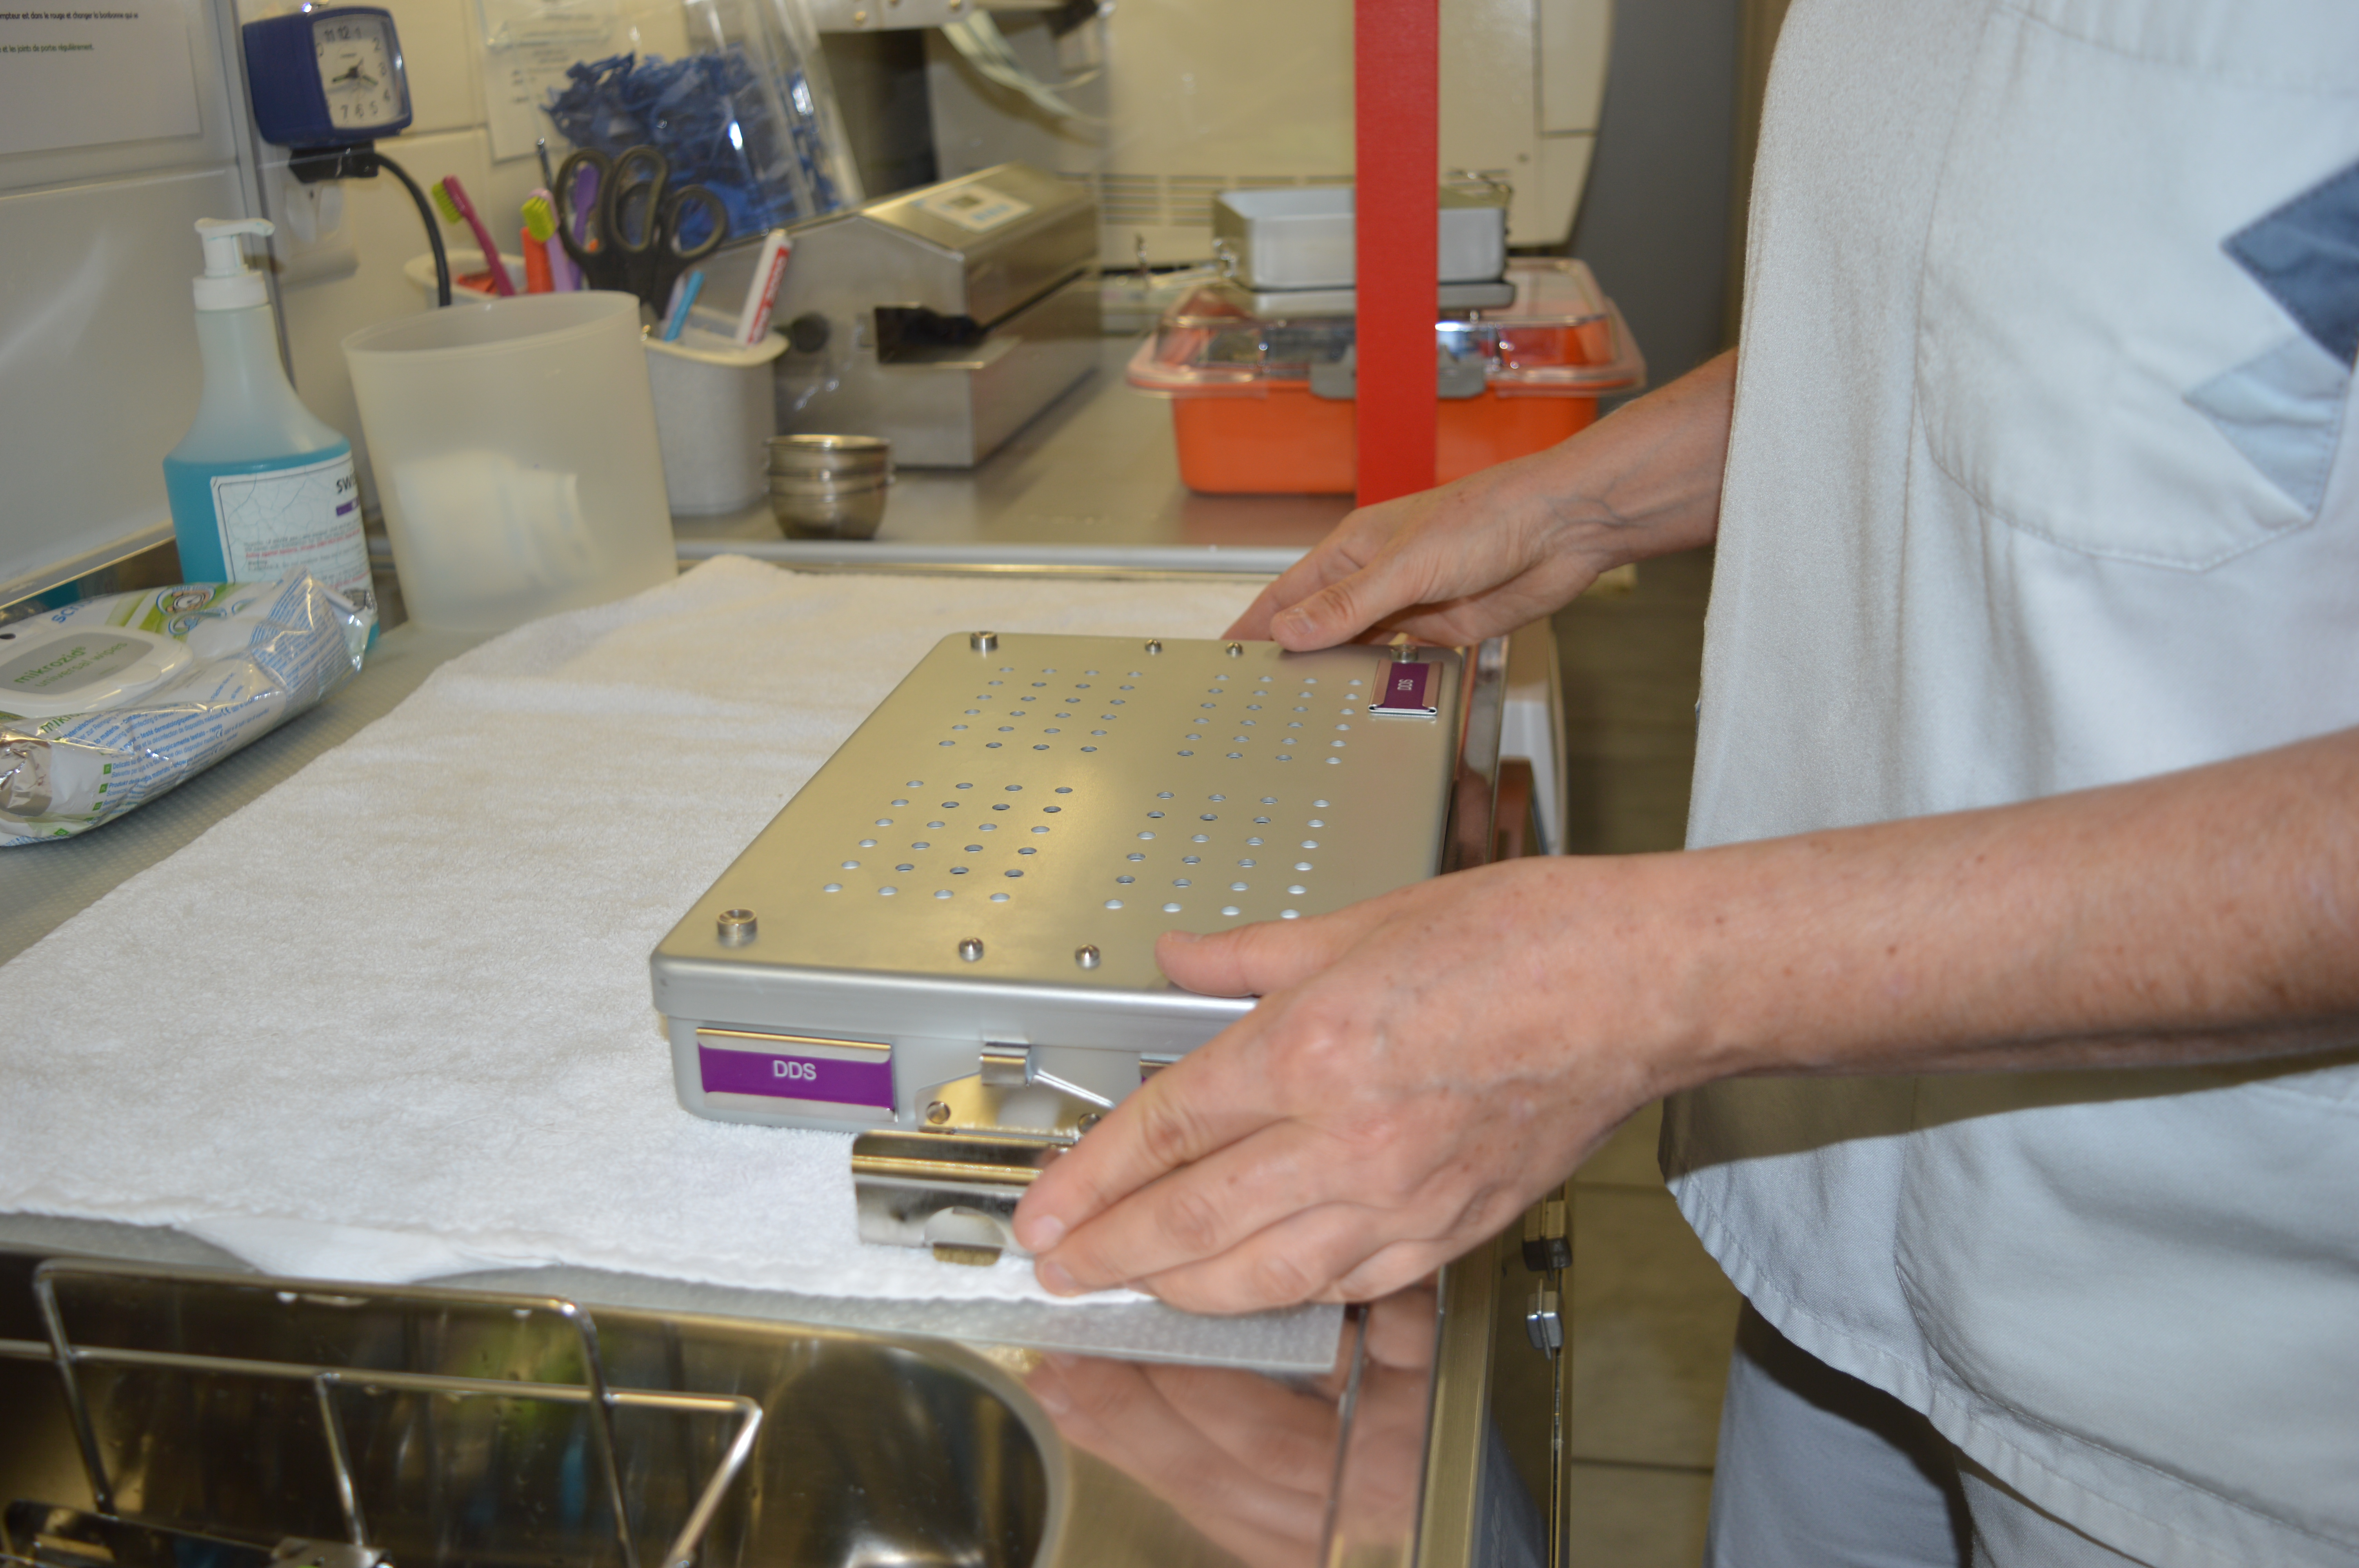
6: Now the perfectly matched cassette is inserted into the thermal sterilizer.
7: Store the cassette in the container.
8: This is closed with two outer flaps.

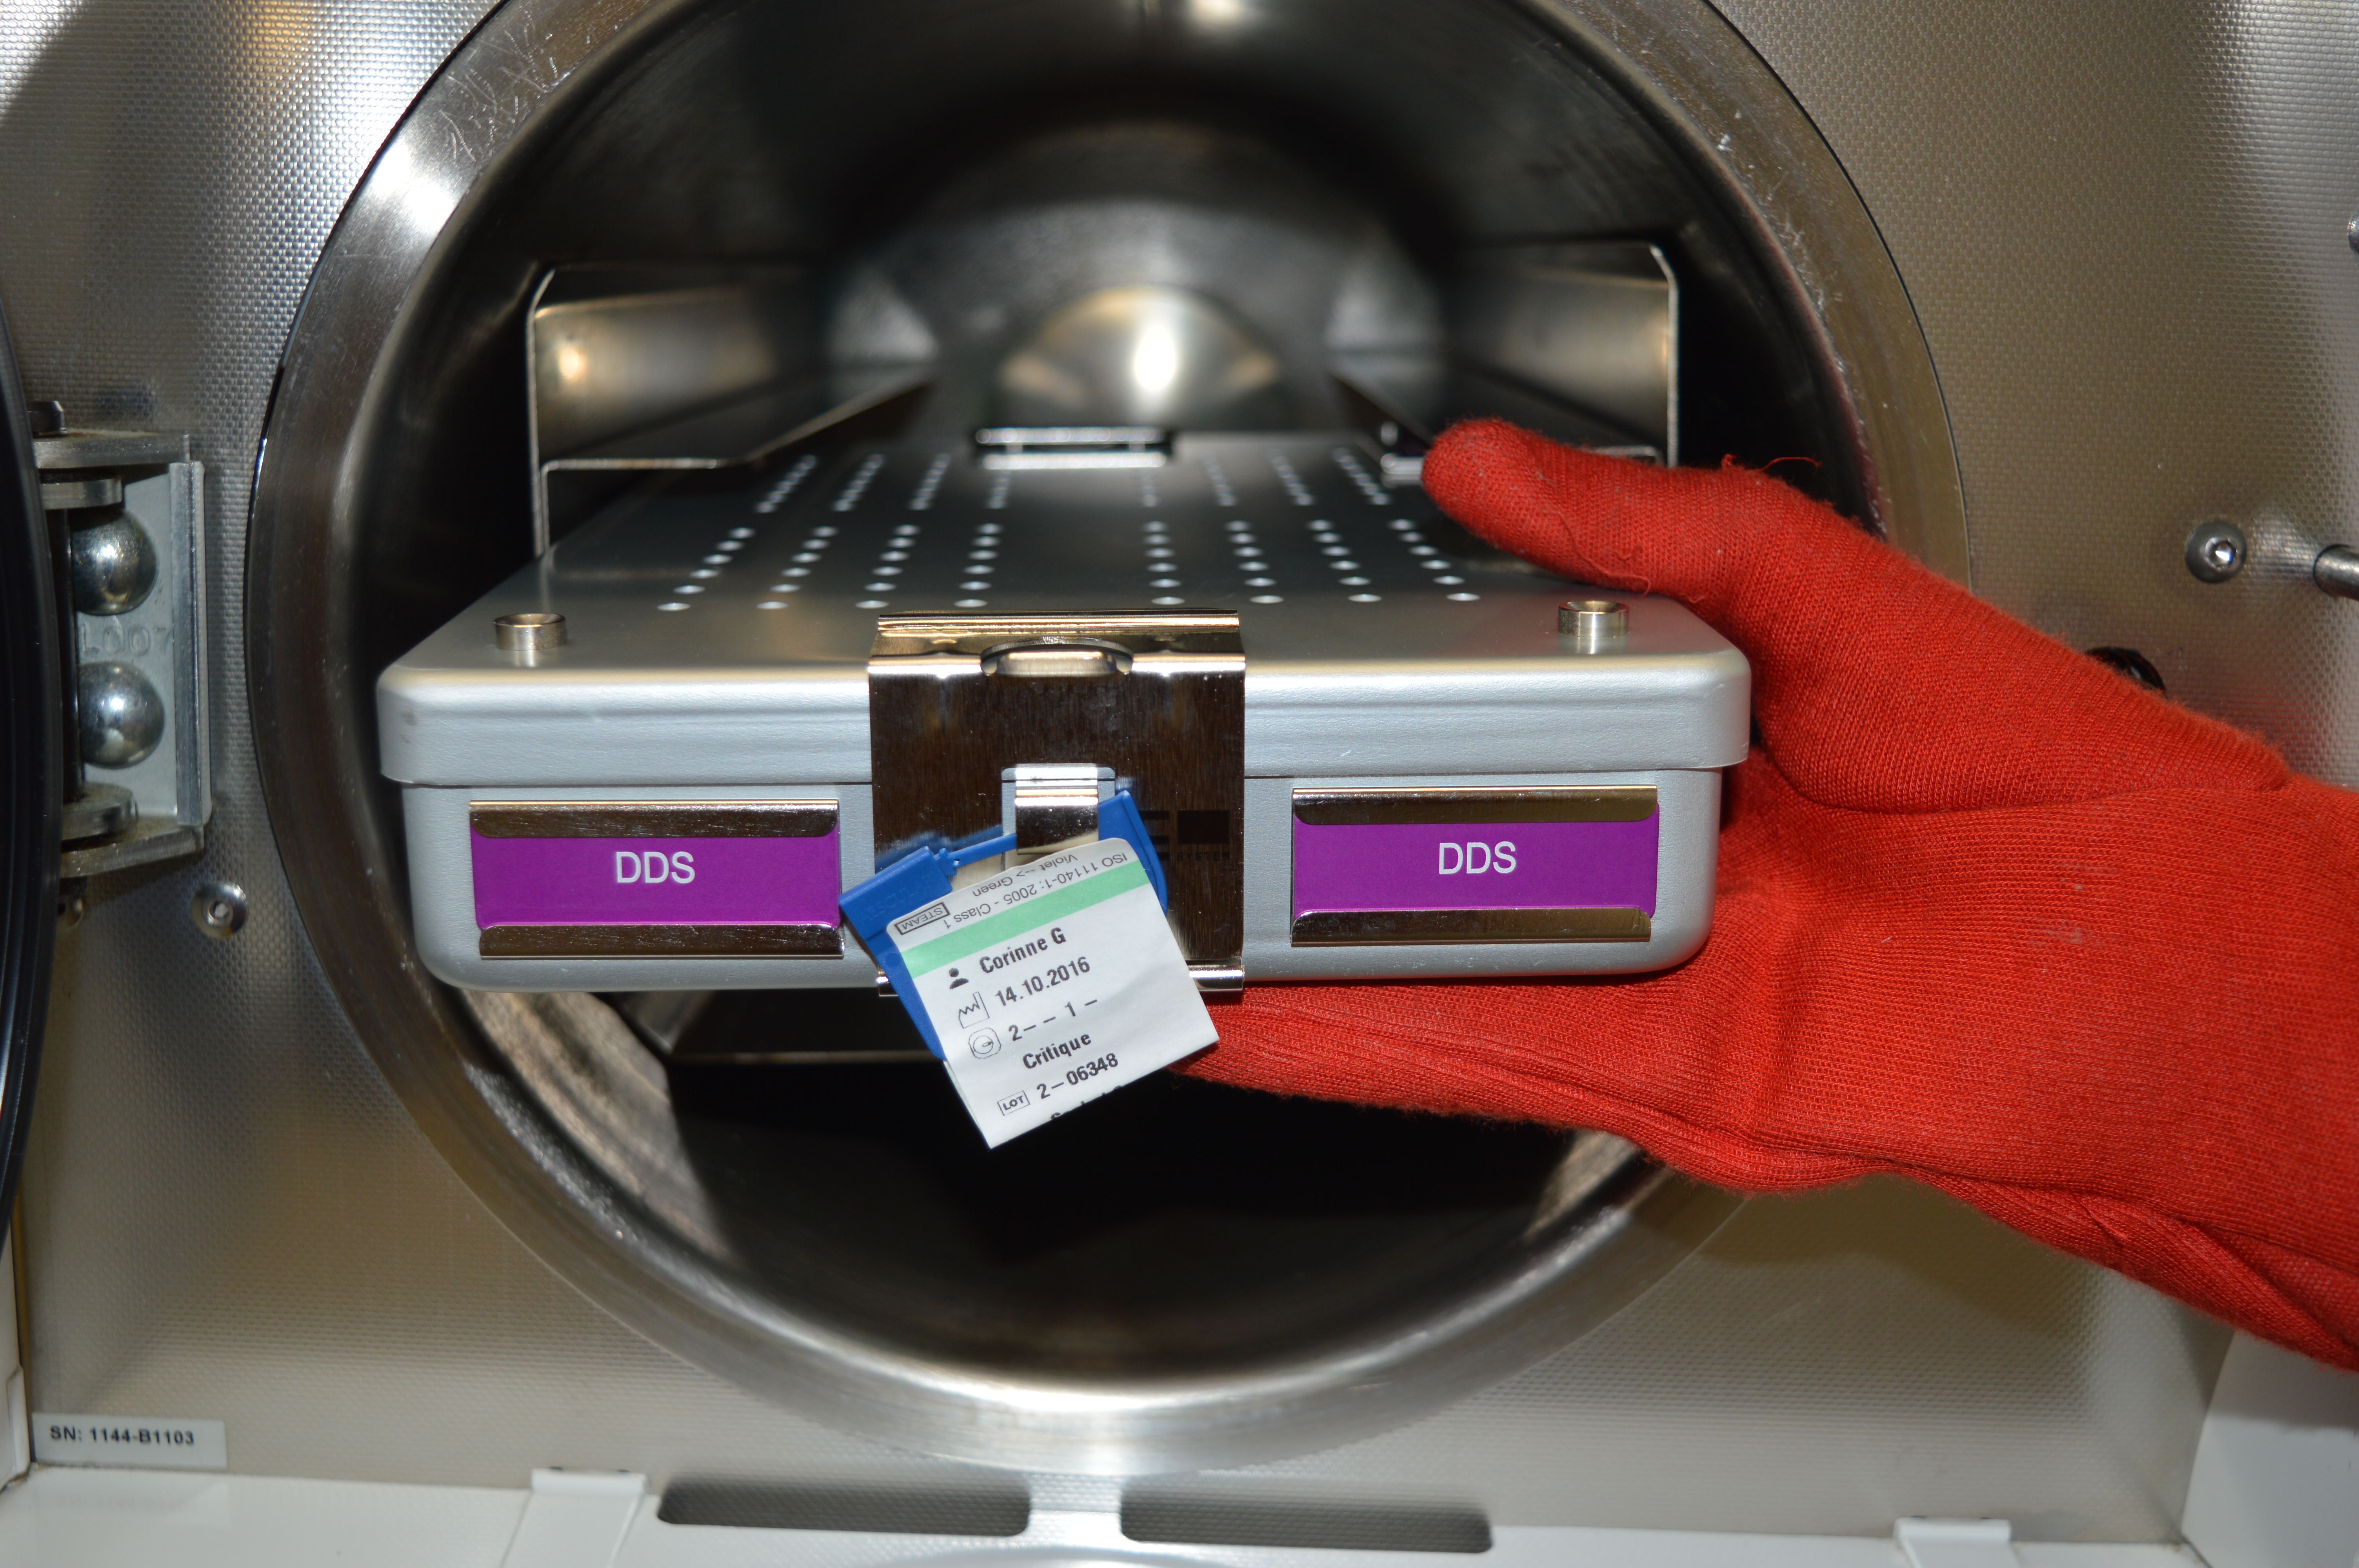


9: Place the safety lead and sterilization label and place in the sterilizer.
10: After sterilization, it is removed with protective gloves.
11: Allow to cool briefly and the container is ready for use again.
12: Here’s how a stock looks like.
-
Téléchargez la brochure mode d’emploi
PDF
[tx_testimonial style=”default”]